Home
Home
Advanced ComfyUI SDXL Workflow for Generating Photorealistic Images
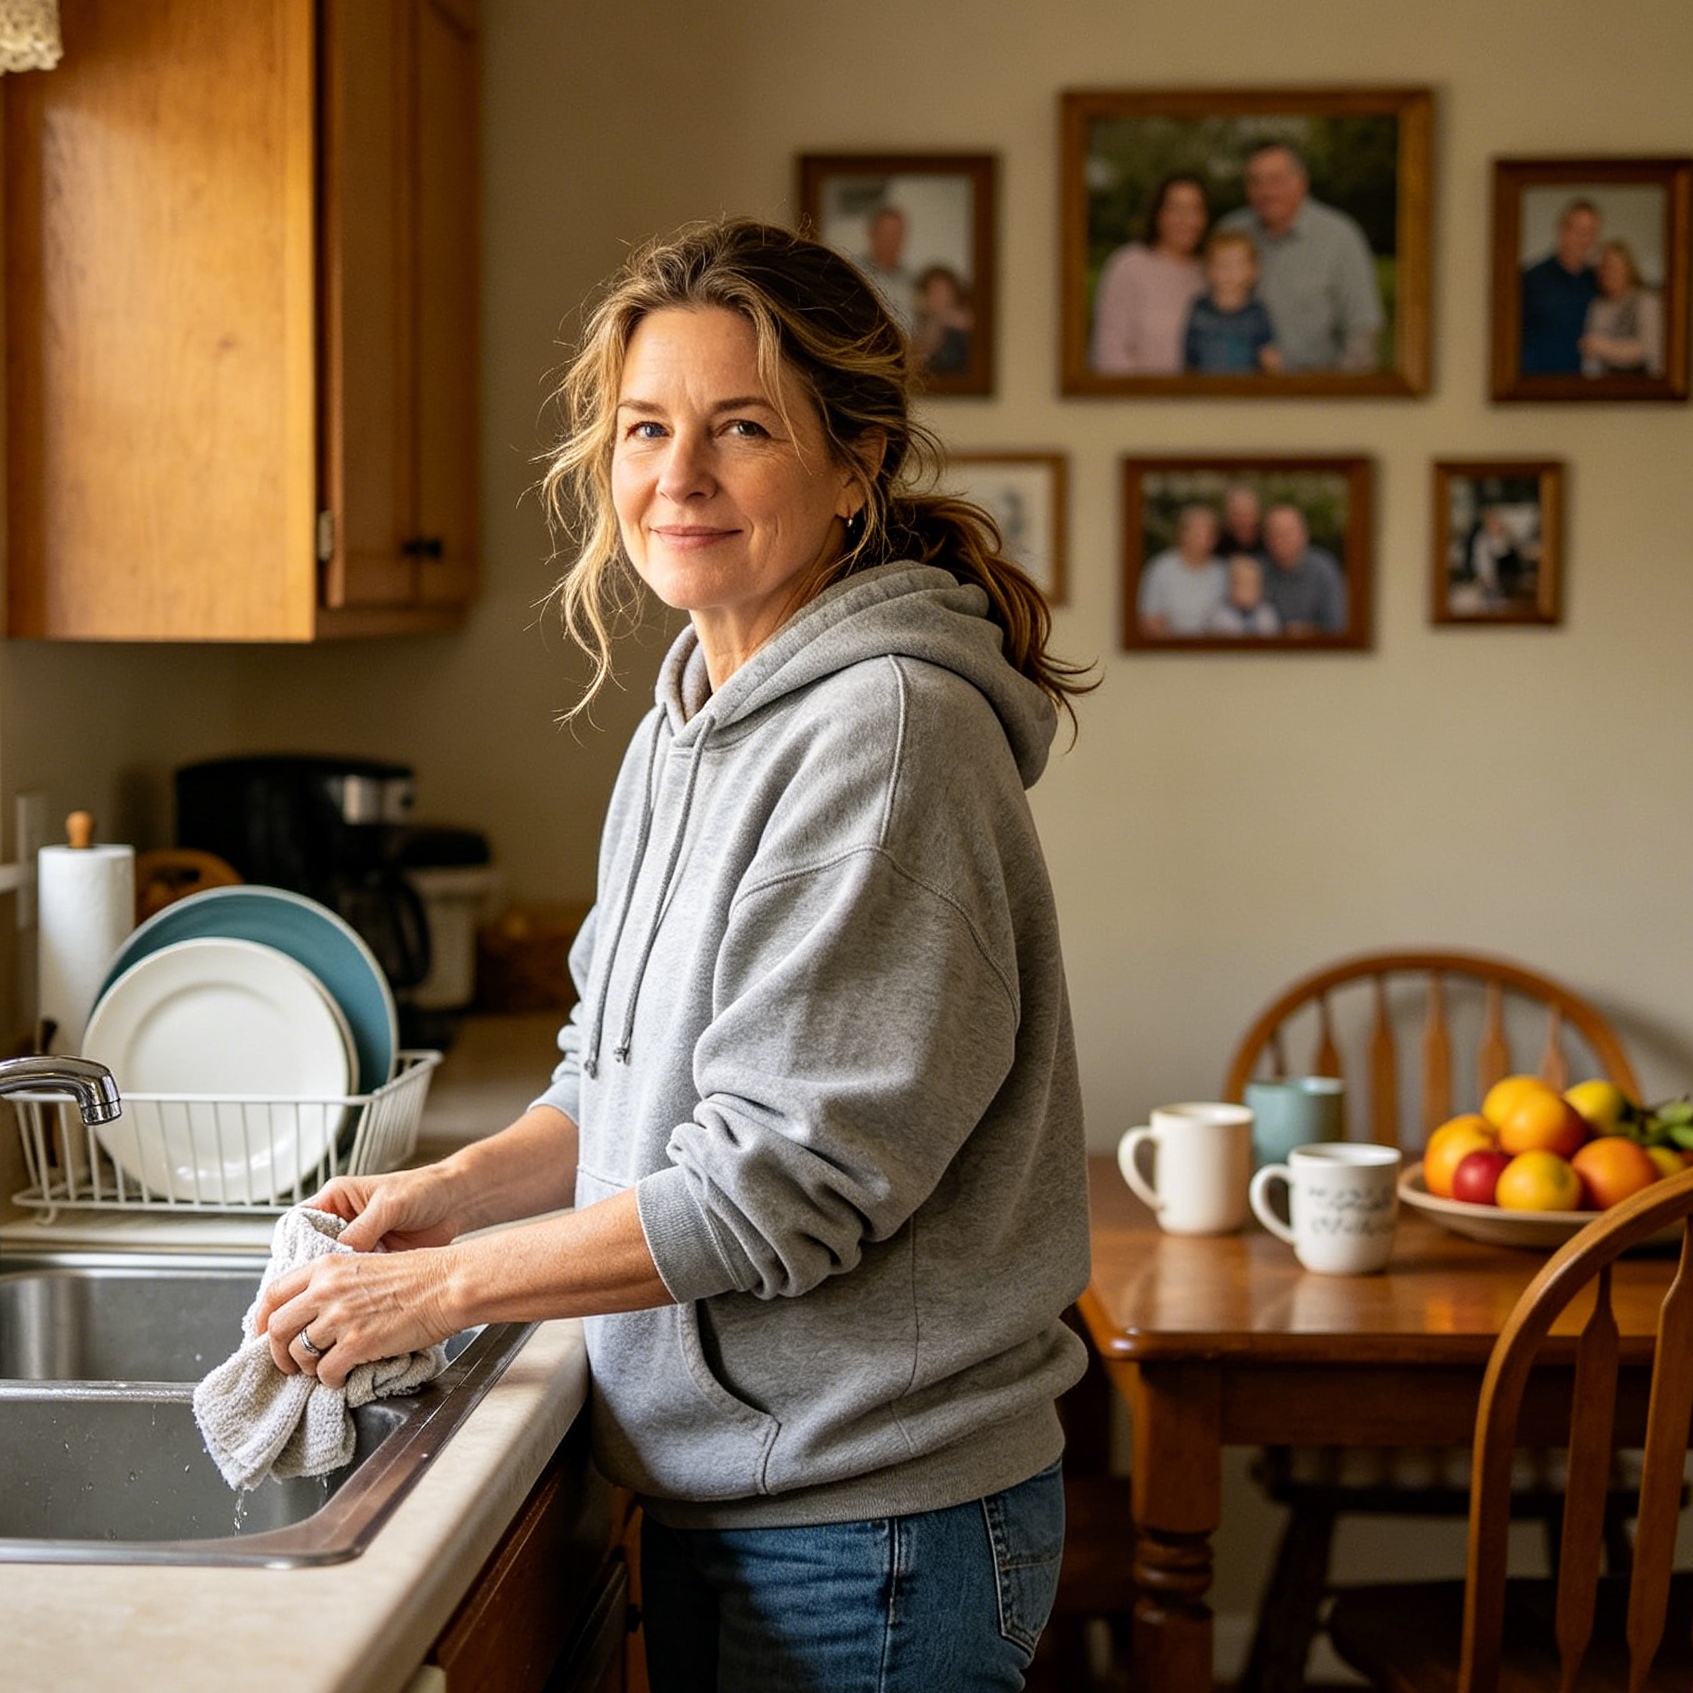
Achieving photorealism in Stable Diffusion XL (SDXL) within the ComfyUI environment requires moving beyond simple text-to-image prompting. A professional-grade workflow for photography-like results must integrate high-fidelity fine-tuned checkpoints, precise latent sampling strategies, and iterative detail refinement loops. The core logic relies on maintaining high frequency details such as skin texture, natural lighting falloff, and optical imperfections while mitigating common AI artifacts like plastic-looking skin or distorted facial features.
The most effective architectural approach involves a multi-stage pipeline: a foundational generation stage using specialized SDXL models, a detail enhancement stage using regional redrawing (such as FaceDetailer), and a final resolution expansion stage that preserves high-frequency textures through tiled upscaling.
Core Components of the Photorealistic SDXL Pipeline
Building a robust workflow starts with the selection of the correct base components. SDXL 1.0 is a powerful foundation, but its base weights are often too generalized for high-end photography. Fine-tuned models, often referred to as checkpoints, are the primary drivers of aesthetic quality.
Specialized SDXL Checkpoints
For photorealistic output, the choice of model accounts for approximately 70% of the visual style. Models such as RealVisXL (specifically V4.0 or V5.0 Lightning), Juggernaut XL, and AnalogMadness have been trained on vast datasets of high-resolution photography. These models understand the nuances of global illumination, sub-surface scattering in human skin, and depth of field more effectively than the base SDXL weights.
In practice, RealVisXL excels at neutral, commercial photography looks, while AnalogMadness provides a more cinematic, film-like grain structure. When loading these models in ComfyUI using the CheckpointLoaderSimple node, it is vital to pair them with a high-quality VAE (Variational Autoencoder). While most modern SDXL checkpoints have the VAE baked in, using a standalone sdxl_vae.safetensors can sometimes resolve color-space issues, such as washed-out colors or "magenta tinting" in shadows.
The Role of LoRAs in Texture Enhancement
LoRAs (Low-Rank Adaptation) are essential for adding specific textural details that might be missing from the main checkpoint. For photorealism, two types of LoRAs are highly recommended:
- Detailers: These LoRAs increase the "complexity" of the latent space, forcing the sampler to generate micro-details like skin pores, wrinkles, and fabric weaves.
- Film Grain/Atmosphere: These add a layer of digital or analog noise, which tricks the human eye into perceiving the image as a physical photograph rather than a smooth digital render.
A common configuration in ComfyUI involves using a LoraLoader node set to a strength of 0.4 to 0.6. Pushing LoRA strength too high often results in "deep-fried" images characterized by over-saturation and high-contrast artifacts.
Designing the Foundation Stage
The foundation stage is where the initial image structure is formed. This stage uses the standard text encoding and sampling nodes but requires specific parameter tuning to favor realism over artistic flair.
Prompt Engineering for Photorealism
Photorealistic prompting in SDXL is significantly different from SD 1.5. Instead of long "word salad" prompts, SDXL benefits from structured, descriptive language that mimics how a photographer describes a scene.
- Camera Specifications: Including phrases like "shot on 35mm lens," "f/1.8 aperture," "Canon EOS R5," or "Sony A7R IV" signals the model to apply specific depth-of-field and lens distortion characteristics.
- Lighting Descriptors: Using "softbox lighting," "golden hour," "natural rim lighting," or "volumetric lighting" defines the interaction between the light source and the subject.
- Material Specifics: Adding "visible skin pores," "subtle freckles," "flyaway hairs," and "fabric texture" provides the high-frequency cues necessary for the "uncanny valley" to be bridged.
The negative prompt is equally important. Rather than just listing "bad anatomy," a technical photorealistic workflow should target aesthetic deviations. Terms like "3d render," "cgi," "cartoon," "airbrushed," and "plastic skin" should be prioritized to push the model away from synthetic-looking outputs.
Latent Space and Sampling Parameters
In ComfyUI, the KSampler node is the engine of the workflow. For SDXL photorealism, the following settings are generally considered the most stable:
- Seed: Randomize for variety, or fix for iterative testing.
- Steps: 30 to 40 steps for standard models; 6 to 8 steps for Lightning or Turbo models.
- CFG Scale: A lower CFG scale (between 5.0 and 7.5) is preferred. Higher CFG values tend to crush the dynamic range, resulting in clipped highlights and shadows that look artificial.
- Sampler Name:
dpmpp_2m_sde_gpuoreuler_aare excellent for realism. Thesdevariants introduce a stochastic element that helps in generating natural-looking textures like hair and grass. - Scheduler:
karrasorexponentialare favored for their ability to converge on fine details early in the sampling process.
The initial resolution should always match the SDXL training bucket sizes, with 1024x1024 being the standard for square images. Deviating too far from 1 megapixel in the initial latent stage often leads to compositional errors, such as multiple heads or distorted limbs.
Advanced Face and Detail Refinement
One of the biggest challenges in AI photography is the "mask-like" quality of faces, especially when the subject is far from the virtual camera. A professional workflow must include a secondary pass focused on facial and ocular details.
Implementing FaceDetailer (Impact Pack)
The FaceDetailer node, part of the ComfyUI Impact Pack, is the industry standard for this task. It operates by detecting the face area within the generated image, cropping it, and performing a focused img2img pass at a higher resolution before blending it back into the original frame.
FaceDetailer Configuration Tips:
- Denoise Strength: This is the most critical parameter. A value between 0.35 and 0.45 is ideal. If the denoise is too low (below 0.3), no meaningful changes occur. If it is too high (above 0.55), the face may change so much that it no longer matches the original subject's identity or lighting.
- BBox Detector: Use the
face_yolov8n.ptor a similar bounding box model to accurately locate the facial region. - SAM Model: Integrating the Segment Anything Model (SAM) allows for precise masking of the face, ensuring that the refinement doesn't bleed into the background or the hair unnaturally.
For ultra-realistic results, a two-stage detailing process is recommended. The first pass uses a general face detector, and the second pass uses a specific eye detector (pit_eye_detailer) to ensure the catchlights and iris textures are sharp and anatomically correct.
Upscaling for High-Resolution Photorealism
An image generated at 1024x1024 rarely possesses the pixel density required for professional use. However, simple AI upscaling often results in a "smooth" or "waxy" look. A high-value workflow uses Ultimate SD Upscale or Tiled Diffusion to add detail during the enlargement process.
The Tiled Upscale Strategy
Instead of upscaling the entire image at once (which would exceed the VRAM of most consumer GPUs), the tiled approach breaks the image into smaller overlapping sections (tiles). Each tile is processed individually through the sampler.
- Upscale Latent by Scale: Use a node to increase the latent dimensions by 2x or 4x.
- Upscale Model: Use a specialized R-ESRGAN or 4x-UltraSharp model to provide a clean base for the tiles.
- Ultimate SD Upscale Node: Set the upscale by factor to 2. Set the "upscale_by" method to use the model mentioned above. The
denoisesetting here should be kept low, typically between 0.2 and 0.3. This adds "texture" to the pixels without changing the overall composition.
This method ensures that as the image gets larger, it actually gains more information—like the texture of skin pores or the weave of a shirt—rather than just becoming a blurry version of the smaller image.
Grain and Post-Processing Nodes
The final step in a photorealistic workflow is the re-introduction of "imperfections." Digital sensors and film stocks both have inherent noise.
- Film Grain Node: Adding a subtle monochromatic noise layer helps to unify the different sections of the image (like the refined face and the upscaled background).
- Color Correction: Using nodes like
ColorCorrectto slightly desaturate the shadows and add a warm or cool tint to the highlights can mimic professional color grading. - Sharpening: A very light unsharp mask can help define the edges of hair and eyelashes, but caution is needed to avoid "haloing" artifacts.
Advanced Sampler Analysis: Why DPM++ 2M SDE Karras?
To understand why certain samplers are preferred for realism, we must look at how they handle the noise schedule. Photorealism relies on the "high-frequency" end of the spectrum.
DPM++ 2M is a second-order multi-step sampler that is highly efficient, but it can sometimes be too "clean," leading to the dreaded plastic skin effect. The SDE (Stochastic Differential Equation) variant introduces controlled randomness during each step. This randomness prevents the sampler from over-smoothing the image. When combined with the Karras scheduler—which adjusts the step size to focus more on the final stages of denoising—the result is a significant increase in micro-textures that mimic real-world surfaces.
In practical testing, using DPM++ 2M SDE Karras at 35 steps with a CFG of 6.5 consistently yields a more "organic" feel than Euler or DDIM. It captures the subtle irregularities in skin tone and the complex light scattering found in natural environments.
Optimizing VRAM Usage for Complex Workflows
A workflow involving multiple detailers and tiled upscaling can be taxing on hardware. To keep the workflow efficient:
- VAE Tiled Decoding: For the final upscale, use the
VAEDecodeTilednode. This prevents "Out of Memory" (OOM) errors during the conversion from latent space to pixel space. - Model Sampling Policy: Use the
ModelSamplingDiscretenode to optimize how SDXL handles different resolutions, ensuring the model stays within its trained parameters even during upscaling. - ControlNet Integration: While not always necessary for photorealism, using a
CannyorDepthControlNet at a low strength (0.2) can help maintain the structural integrity of a subject during the high-denoise refinement stages.
Common Pitfalls and How to Fix Them
Even with an advanced workflow, certain issues frequently arise. Identifying and correcting these is key to professional output.
Over-Smoothing (The Plastic Look)
This is usually caused by a denoise strength that is too high during upscaling or a CFG scale that is too low.
- Fix: Increase the strength of a "Detailer" LoRA, or add "skin texture, pores, imperfections" to the positive prompt. Ensure the
Ultimate SD Upscaledenoise is not above 0.35.
Color Banding in Shadows
This often occurs when the VAE struggles with the dynamic range of the image.
- Fix: Switch to the official
sdxl_vae.safetensorsand ensure you are working in a 16-bit or 32-bit color environment within ComfyUI. Adding a tiny amount of noise (dithering) before the final save can also break up banding.
Disconnected Facial Features
Sometimes the FaceDetailer creates a face that looks like a "sticker" placed on the body.
- Fix: Lower the
feathersetting on the mask slightly to create a smoother transition, or increase thepaddingaround the face crop so the sampler sees more of the neck and hair for context.
Summary of the Technical Hierarchy
The path to photorealism is a descending ladder of detail. The checkpoint defines the Global Structure (lighting, anatomy, perspective). The sampler and CFG define the Mid-Level Texture (shading, skin tone, hair clumps). The FaceDetailer and Upscaler define the Micro-Detail (pores, iris patterns, individual fabric threads). By controlling each layer of this hierarchy through specific ComfyUI nodes, users can generate images that are indistinguishable from real photography.
FAQ
What is the best resolution for SDXL photorealism in ComfyUI?
While SDXL is trained on 1024x1024, the best results often come from using the 1024x1024 base and then performing a 1.5x or 2x tiled upscale. This results in a final image of 1536x1536 or 2048x2048, which contains significantly more realistic texture than an image generated at that resolution natively.
Why does my photorealistic image look like a 3D render?
This is often due to the lighting being too "perfect." Real photos have lens flares, chromatic aberration, and imperfect focus. Try adding "depth of field," "bokeh," and "lens flare" to your prompt, and ensure you are not using "masterpiece" or "best quality" in your negative prompts, as these tags sometimes push the model toward a "polished" digital art style.
Do I need a high-end GPU for this workflow?
An 8GB VRAM GPU (like an RTX 3070 or 4060 Ti) can run this workflow if tiled VAE decoding and tiled upscaling are used. However, for a smooth experience without long wait times, 12GB to 16GB of VRAM is recommended, especially when stacking multiple LoRAs and detailer nodes.
Should I use SDXL Turbo or Lightning for photorealism?
Lightning and Turbo models are excellent for speed, but they often sacrifice the "fine-grain" textures found in 30-40 step models. For the absolute best photorealism, standard SDXL checkpoints (using 30+ steps) are still superior to the high-speed variants, which can sometimes produce "flat" textures.
How do I maintain consistent skin tone across multiple images?
Using a specific "Skin Tone" LoRA or a fixed seed for the FaceDetailer can help. Additionally, including specific ethnicity or skin type descriptors (e.g., "fair skin with olive undertones") in the prompt ensures the model doesn't drift during the refinement stages.
-
Topic: AI Art Styles & Workflows: SD and Flux Guidehttps://insiderllm.com/pdfs/ai-art-styles-workflows-guide.pdf
-
Topic: Huslyo123’s ComfyUI Photorealistic Workflow (with Beginner Friendly Step-by-Step Guide) - CivArchive (CivitAI Archive)https://civitaiarchives.com/models/1820704?modelVersionId=2096016
-
Topic: Huslyo123’s ComfyUI Photorealistic Workflow (with Beginner Friendly Step-by-Step Guide) - CivArchive (CivitAI Archive)https://civarchive.com/models/1820704?modelVersionId=2060346