Home
Home
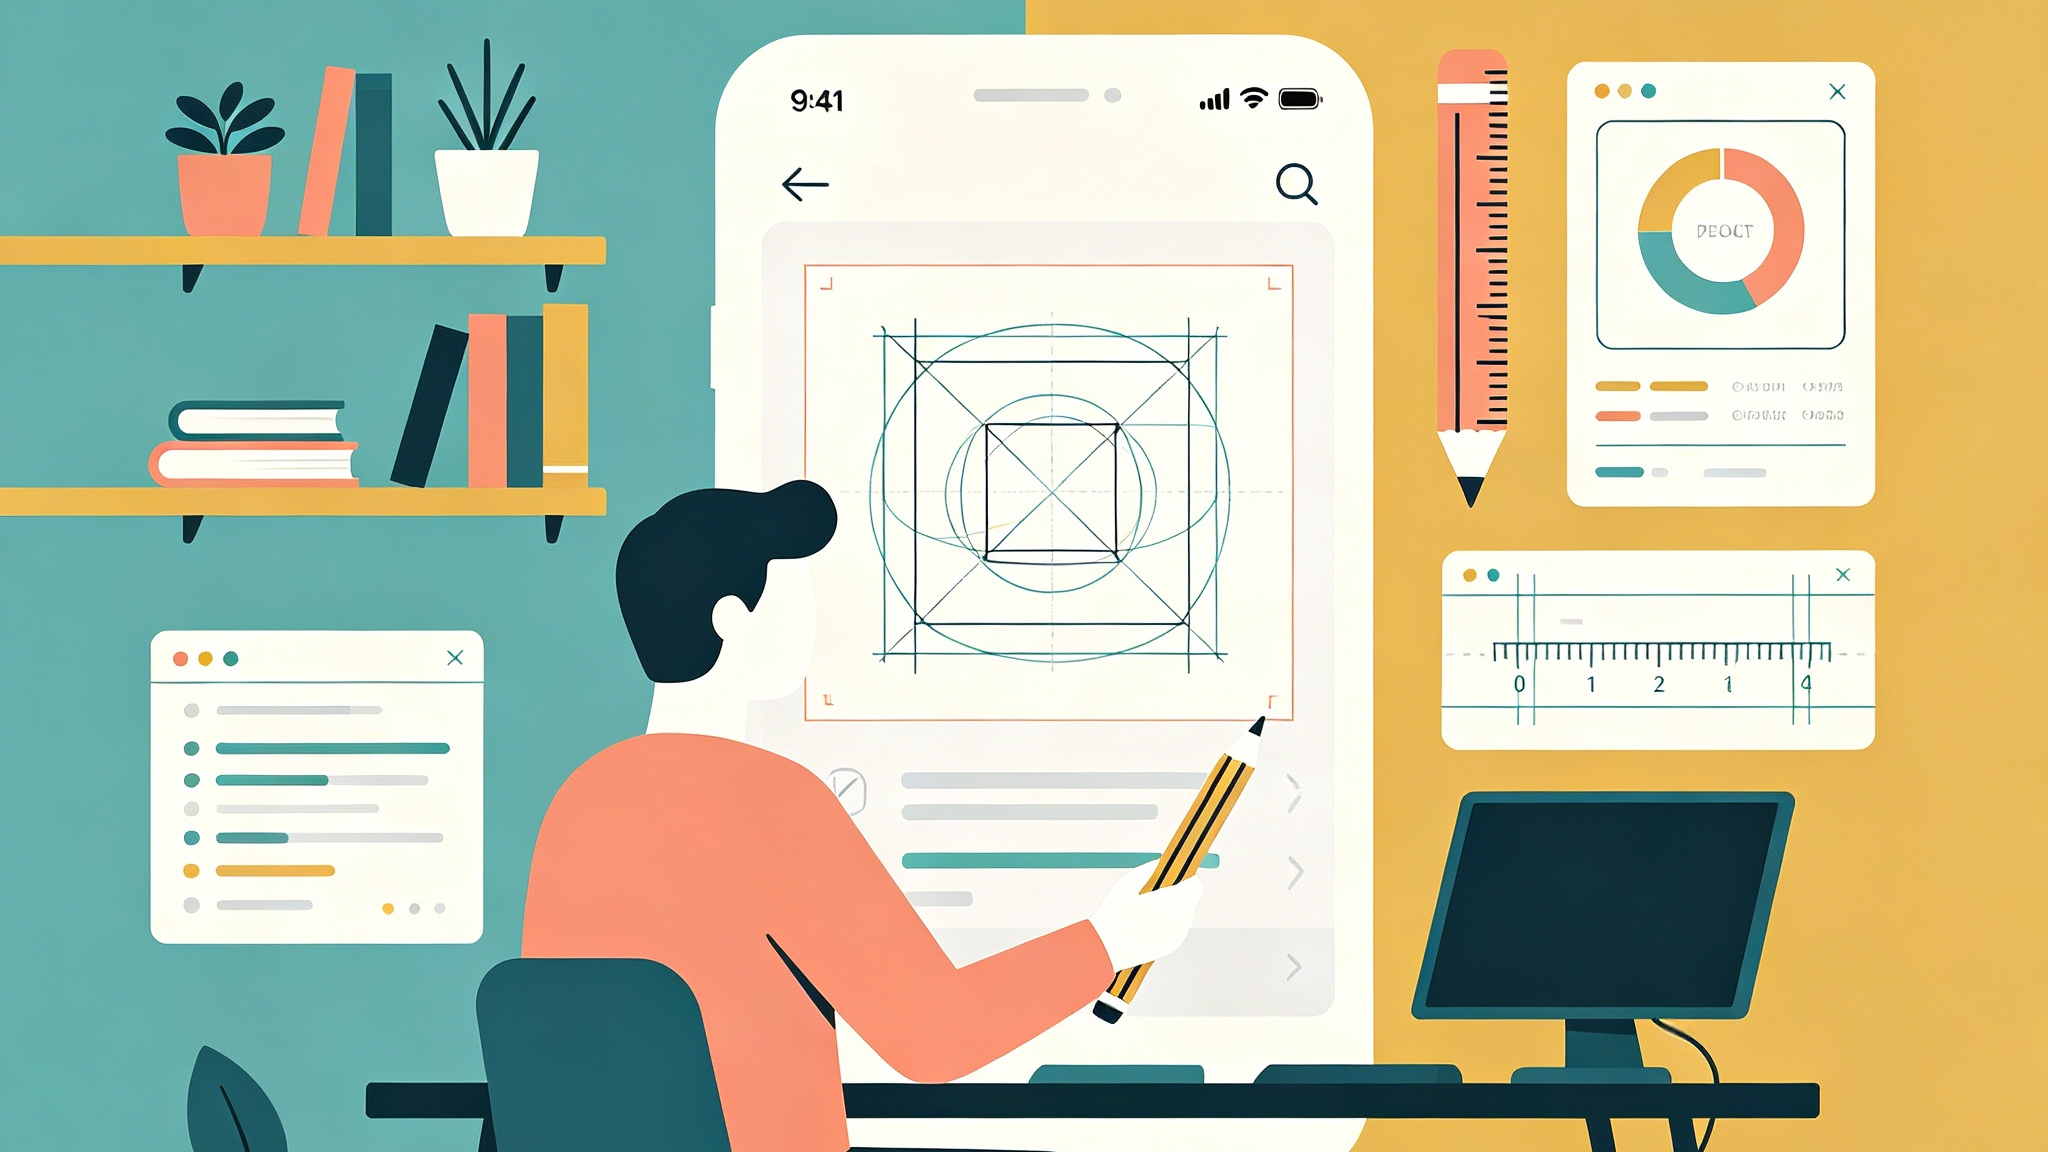
Canva Image Resize Without Ruining Your Design

Resizing in Canva involves two distinct operations: scaling the entire design canvas or adjusting individual image elements within a layout. While the platform has streamlined these processes in the 2026 "Glow Up" interface, the difference between a crisp, professional output and a blurry, distorted mess lies in the technical execution.
To resize an individual image quickly, click the element and drag any of the four corner handles. For those with a Canva Pro subscription looking to change the entire design's dimensions, the Magic Switch button in the top navigation bar is the primary tool. It allows for instant conversion between preset social media sizes or custom pixel inputs.
Precise Element Resizing via the Position Panel
Dragging corners is sufficient for rough layouts, but professional design requires pixel-level accuracy. In our recent workflow tests, we found that relying solely on manual dragging often leads to "pixel drifting," where elements end up at non-integer coordinates (e.g., 500.7px), causing slight anti-aliasing blur on high-density displays.
To avoid this, select your image and navigate to the Position tab on the top toolbar. Under the Advanced section, you can input exact width and height values. A critical feature here is the Lock Aspect Ratio icon (the small chain link). When engaged, changing the width will automatically calculate the height to prevent the "squashed" look that plagues amateur designs. If you need to fill a specific rectangular area that doesn't match your image's original ratio, unlock this link, but be prepared for the image to stretch unnaturally unless you use the Crop tool instead.
The Magic Switch: Pro-Level Multi-Size Distribution
The 2026 iteration of Magic Switch (formerly Magic Resize) has become significantly more intelligent. In a project where we needed to convert a horizontal LinkedIn banner into vertical Instagram Stories, the AI now attempts to reorganize elements rather than just stretching the background.
When using Magic Switch:
- Select the new desired dimensions (or multiple dimensions at once).
- Toggle the "Copy & Resize" option to preserve your original design.
- Check the "Translate" box if you are working across different language regions (a new standard in the latest Canva Pro suite).
From a technical standpoint, Magic Switch works best when your original design uses Frames for images. Frames act as containers that allow the AI to reposition the focal point of a photo during the transition from a 16:9 ratio to a 9:16 ratio without manually re-cropping every slide.
How Free Users Can Resize Designs Manually
If you are on the free tier, the Magic Switch button is locked. However, you can achieve the same result with a simple manual workaround that we use for quick, non-Pro projects.
First, create a new design with your target dimensions from the Canva home screen. Open your original design in a separate browser tab. Press Ctrl+A (or Cmd+A on Mac) to select every element in the original design, copy them (Ctrl+C), and paste them (Ctrl+V) into the new, blank canvas.
Once pasted, all elements will be grouped. Hold the Shift key and drag the corners of the entire group to scale it to the new canvas size. While this doesn't automatically rearrange elements like the Pro version, it ensures you maintain the original design's integrity without paying for the premium subscription.
Resizing and the Battle Against Pixelation
A common issue with a Canva image resize is loss of quality when scaling upwards. If you take a 500px web image and try to resize it for a 3000px print poster, the result will be pixelated.
In our current 2026 environment, Canva has integrated an AI Image Enhancer directly into the Edit Photo menu. When you upscale a small image significantly, we recommend applying the "Enhance" filter immediately after resizing. In our tests, this tool uses generative filling to sharpen edges and reduce noise, making a low-res upload look acceptable even at 2x or 3x its original size.
For print projects, always aim for a final output of 300 DPI. If you are resizing for the web, 72 DPI to 96 DPI is standard. To ensure you have enough "room" to resize, always upload the highest resolution source file available. It is always better to scale down a 4K image than to attempt to upscale a thumbnail.
The Shift Key Secret and Aspect Ratio Logic
There is a subtle but vital difference in how Canva handles resizing depending on which key you hold:
- Corner Handles: These scale the image proportionately by default.
- Side Handles (Pill-shaped): These do not resize the image; they crop it. If you find your image is disappearing as you drag, you are likely using the side handles instead of the corners.
- Holding Alt/Option while dragging: This resizes the image from the center point rather than from the corner, which is incredibly useful for maintaining symmetry in centered layouts.
In the 2026 UI, the "Smart Crop" feature now activates by default when you resize an image inside a frame. If you resize the frame, Canva's AI analyzes the "salient" parts of the photo—usually a human face or a primary object—and keeps it centered automatically. If the AI misses the mark, double-click the image to manually adjust its position within the resized frame.
Avoiding the "Blurry Text" Syndrome
When you resize a design that contains both images and text, the text boxes can behave unexpectedly. Unlike images, text doesn't always scale its font size linearly when you drag the corner of a group.
If you find that your text is wrapping awkwardly after a resize, check the Font Size numerical value in the top bar. For a cohesive look, avoid using fractional font sizes (like 12.4pt). Rounded numbers not only look cleaner in the editor but also render more sharply across different browser engines (Chrome vs. Safari).
Mobile vs. Desktop Resizing
Resizing on the Canva mobile app (iOS/Android) requires a different tactile approach. Since you lack the precision of a mouse, we recommend using the "Nudge" tool for fine-tuning after a pinch-to-zoom resize. The mobile interface also hides the exact pixel dimensions behind a sub-menu. To see them, you must tap the three dots (...) on the element and select Info or navigate to the Position tab at the bottom of the screen. In our experience, complex resizing projects should always be finalized on the desktop version to ensure that alignment and spacing haven't shifted during the scaling process.
Summary of Best Practices for 2026
To ensure your Canva image resize is successful every time, follow this checklist:
- Check the Source: Ensure the uploaded file has a higher resolution than your target output.
- Use the Position Tab: For professional work, enter numerical values instead of dragging.
- Lock the Ratio: Never stretch an image horizontally or vertically unless you are going for a specific distorted aesthetic.
- Monitor the Bleed: If you are resizing for print, remember to re-adjust your bleed settings (File > View Settings > Show Print Bleed) as these don't always scale proportionately with the canvas.
- AI Cleanup: Use the AI Enhancer if you are forced to upscale a low-quality asset.
By mastering these technical nuances, you move beyond simply "making things bigger or smaller" and begin to treat Canva as a professional-grade layout tool that maintains visual excellence across all platforms.
-
Topic: Resizing and cropping elements - Canva Help Centerhttps://www.canva.com/help/resize-and-crop/#:~:text=Resizing%20elements%2C%20text%20boxes%2C%20photos%2C%20and%20videos&text=In%20Canva%20Docs%2C%20you%20can,the%20Width%20and%20Height%20fields.
-
Topic: How to Resize Images in Canva- Howfinityhttps://howfinity.com/master-image-resizing-canva-step-by-step/
-
Topic: How to Resize an Uploaded Image in Canvahttps://graphicdesignresource.com/how-to-resize-an-uploaded-image-in-canva/