Home
Home
How to Generate High Quality Images Using Grok AI on X
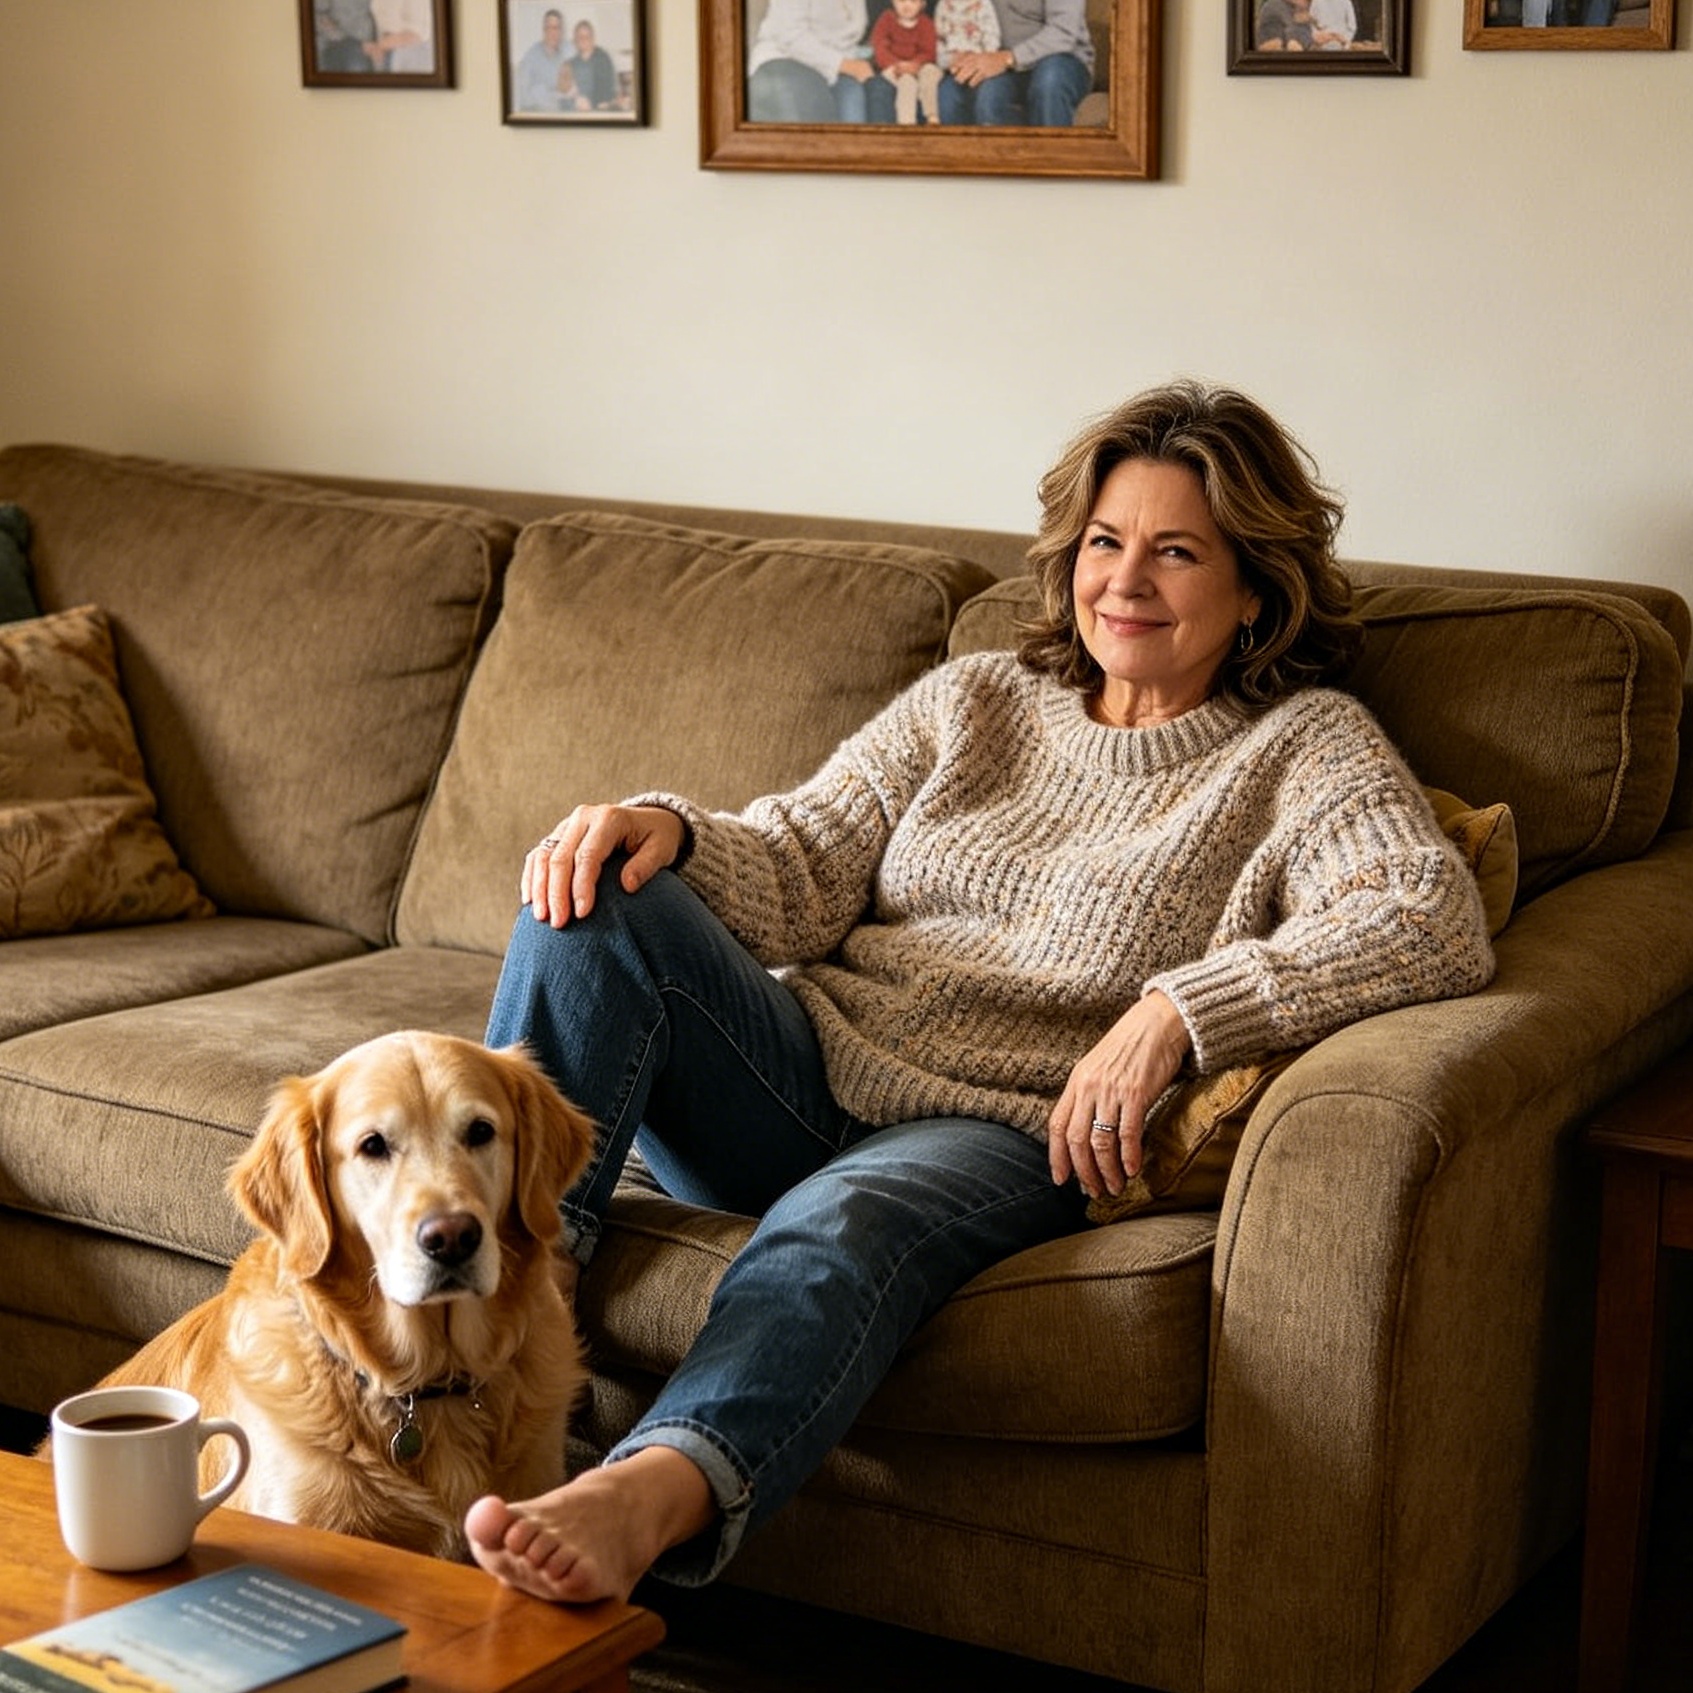
Grok AI, developed by xAI, has evolved from a text-based conversational assistant into a powerful multimodal engine capable of generating high-fidelity visual content. Often referred to as Grok Imagine, this feature leverages advanced diffusion models—including Grok-2 and the proprietary Aurora engine—to transform natural language descriptions into professional-grade images. Whether you are a social media creator looking for viral visuals or a developer integrating generative AI into a workflow, understanding the nuances of Grok's image generation is essential for achieving optimal results.
Generating images with Grok is not merely about typing a few keywords; it is an iterative process involving subscription management, model selection, and precise prompt engineering. This guide provides a comprehensive breakdown of how to navigate the Grok ecosystem to produce stunning visual assets.
Understanding the Prerequisites for Grok Imagine
Before accessing the creative suite of Grok AI, specific account requirements must be met. Unlike some open-access AI tools, Grok is currently integrated as a value-added service within the X ecosystem.
Subscription Requirements
Access to Grok’s image generation is restricted to users with an active X Premium or Premium+ subscription. This tiered access ensures that the high computational cost of running Grok-2 and Grok-2 mini models is supported by a dedicated user base. If you are on the Basic tier or using a free X account, the Grok interface will not be visible in your sidebar.
Account Verification and Age
To maintain platform integrity and prevent automated abuse of generative features, xAI requires accounts to be:
- Phone-Verified: Your X account must be linked to a valid, verified phone number.
- Account Age: Generally, accounts must be at least 7 days old to unlock Grok features.
- Regional Availability: While Grok is expanding rapidly, ensure that your current region supports Grok services as per X's latest rollout schedule.
Step-by-Step Guide to Generating Images on X
Once the prerequisites are satisfied, generating an image is a streamlined process integrated directly into the X interface, whether you are using a web browser or the mobile application.
Step 1: Accessing the Grok Interface
On the X sidebar (or the bottom navigation bar on mobile), locate the Grok icon. Clicking this will open a dedicated chat interface. Unlike the standard search bar, the Grok window is designed for multi-turn conversations and media generation.
Step 2: Selecting the Appropriate Model
Grok currently offers different model versions, such as Grok-2 and Grok-2 mini. For image generation, ensure you have selected the latest stable version (e.g., Grok-2).
- Grok-2: This is the flagship model optimized for high-quality instruction following and visual fidelity. It is the preferred choice for photorealistic renders and complex scenes.
- Grok-2 mini: A faster, more efficient version. While it can generate images, it is often used for quicker iterations or less complex visual tasks.
Step 3: Drafting and Entering the Prompt
In the chat input field, describe the image you wish to create. It is recommended to start your prompt with a clear action verb, such as "Generate," "Create," or "Imagine." For example: "Generate a futuristic city skyline at sunset in a cyberpunk style."
Step 4: Reviewing and Downloading
After a few seconds, Grok will display the generated image. You can click on the image to view it in full resolution. On desktop, right-click to save; on mobile, long-press or use the download icon to save the file to your device's gallery.
Mastering the Grok-2 Image Models
To get the most out of Grok, it is important to understand the underlying technology. While the interface is simple, the engine behind it is sophisticated.
The Role of Flux and Aurora
In its current iteration, Grok often utilizes the Flux.1 model family (developed by Black Forest Labs) for its chatbot-integrated image generation. Flux is renowned for its exceptional ability to render text within images and its high degree of adherence to complex prompts.
Additionally, xAI has been developing Aurora, a proprietary multimodal model. In specific standalone tools or advanced API settings, Aurora is positioned as a purpose-built model for precision, creative control, and high-resolution output. Aurora excels in "instruction-following accuracy," meaning it is less likely to ignore specific details you include in your prompt compared to older diffusion models.
Aspect Ratios and Dimensions
While the default output is often square (1:1), Grok can handle different aspect ratios if specified in the prompt. Understanding these is crucial for platform-specific content:
- 16:9: Ideal for YouTube thumbnails or cinematic landscapes.
- 9:16: Best for X Stories, TikTok, or mobile wallpapers.
- 4:3 or 3:2: Standard photography formats suitable for blog headers.
Advanced Prompt Engineering for Photorealistic Results
The quality of a Grok-generated image is directly proportional to the quality of the prompt. To achieve professional results, one must move beyond simple descriptions and adopt what we call "The Director’s Mindset."
The Director’s Mindset
Instead of just naming an object, describe the scene as if you are setting up a high-budget film shot. This involves specifying four key pillars: Lighting, Camera Settings, Mood, and Composition.
1. Lighting (The "Atmosphere" Builder)
Lighting defines the texture and depth of the image.
- Golden Hour: Provides soft, warm, directional light, perfect for portraits and landscapes.
- Cinematic Lighting: High contrast, often with dramatic shadows (Chiaroscuro).
- Neon/Cyberpunk: Vibrant, artificial light sources with heavy reflections on wet surfaces.
- Soft Studio Lighting: Even, flattering light for product shots or professional headshots.
2. Camera Settings (The "Technical" Detail)
Simulating real-world camera hardware helps the AI understand the desired focal length and depth of field.
- Lens Choice: Use "85mm f/1.8" for a shallow depth of field (blurred background) in portraits. Use "14mm wide-angle" for expansive architectural or landscape shots.
- Shot Type: Specify "Close-up," "Macro," "Bird's eye view," or "Wide shot."
- Film Stock: Mention "35mm film grain" or "Kodak Portra 400" for a vintage, nostalgic aesthetic.
3. Mood and Style
Use evocative adjectives to guide the AI’s "artistic" choices.
- Style Examples: "Hyper-realistic," "Minimalist 3D render," "Oil painting," "Cyberpunk," "Ghibli-inspired anime," or "Bauhaus graphic design."
- Mood Examples: "Serene," "Melancholic," "Energetic," "Dystopian," or "Whimsical."
Sample Prompt Construction
Weak Prompt: "A cat in a space suit." Professional Prompt: "A hyper-realistic close-up portrait of a ginger tabby cat wearing a detailed NASA-style space suit. Soft rim lighting highlighting the fur, reflections of Earth in the visor. Shot on a Sony A7R IV, 90mm macro lens, sharp focus on the eyes, cinematic 8k render."
Iterative Refinement and Style Consistency
One of Grok’s most powerful features is its ability to refine images through conversation. You do not have to get the perfect image on the first try.
The Conversational Workflow
If the generated image is "almost there" but needs changes, simply tell Grok what to adjust.
- "Make the background darker and add more stars."
- "Change the character's hair color to silver."
- "Keep the composition but change the style to a watercolor painting."
Each iteration builds on the previous result. In our testing, this multi-turn capability significantly reduces the time spent "prompt fishing" compared to static AI generators where every prompt starts from scratch.
Maintaining Brand Consistency
For business users, consistency is key. To maintain a consistent look across a series of images (e.g., for a blog or marketing campaign), define a "Style Guide" in your initial prompt and reference it in subsequent requests.
- Example: "I need a series of 5 fintech illustrations. Use a limited palette of navy blue, coral, and white. The style should be flat vector with clean lines. Image 1: A credit card floating. Image 2: A bar chart growing..."
Developing with the xAI API for Image Generation
For developers and enterprises, accessing Grok’s image capabilities via the xAI API allows for batch generation and integration into custom applications.
Setting Up the xAI Console
- Create an Account: Visit the xAI Console (console.x.ai).
- Add Credits: The API operates on a prepaid model. You must load credits to make requests.
- Generate API Keys: Create a secure key (e.g., starting with
sk-...). Treat this key as a password and never expose it in client-side code.
Technical Implementation Examples
The xAI API is designed to be compatible with existing SDKs, making migration from other platforms straightforward.
Using Python (with OpenAI SDK)