Home
Home
Professional Birthday Poster Design Strategies for Unforgettable Celebrations

A birthday poster is more than a mere announcement; it is the visual heartbeat of a celebration. It sets the tone, dictates the dress code, and serves as the first point of contact between the host and the guests. Designing a professional-grade birthday poster requires a delicate balance between artistic expression and functional information delivery. Whether the event is a high-spirited first birthday or a sophisticated golden jubilee, the principles of effective graphic design remain constant.
The Essential Anatomy of a High-Impact Birthday Poster
Before diving into color palettes and brush strokes, a designer must prioritize clarity. A poster that looks stunning but fails to communicate the "who, when, and where" is a failure in communication design.
Defining the Core Information Hierarchy
Information should be organized based on its importance to the viewer. This is known as visual hierarchy.
- The Focal Point (The Name and Occasion): The name of the honoree should be the most prominent element. Use a bold, distinctive typeface that reflects their personality.
- The Milestone (The Age): If it is a milestone birthday (e.g., 1st, 16th, 21st, 50th), the age often acts as a secondary graphic element, sometimes even integrated into the background textures.
- The Logistical Data (Date, Time, Location): This must be legible and grouped together. Avoid using overly decorative fonts for this section; clarity is paramount here.
- The Action Item (RSVP): Provide clear instructions on how to respond. A modern addition to this is the inclusion of a QR code, which simplifies the process for guests.
- The Narrative (The Vibe): Use short, punchy phrases to describe the atmosphere, such as "Cocktails and Dreams," "Wild One," or "A Night Under the Stars."
Establishing the Cultural and Social Context
A professional designer considers the social background of the honoree. For a corporate executive’s 50th, the design should lean toward "Refined Minimalism." For a teenager’s graduation-birthday crossover, "High-Energy Kinetic Typography" might be more appropriate. Understanding the audience ensures the design resonates on an emotional level.
Master Styles and Thematic Concepts
Choosing a theme is the first step in narrowing down the infinite possibilities of the canvas. Here are four dominant design directions analyzed through a professional lens.
Refined Minimalism for Adult Celebrations
Minimalism is not about the absence of design; it is about the perfection of what remains. This style relies heavily on sophisticated typography and generous negative space.
- Visual Characteristics: Clean sans-serif fonts (like Helvetica or Montserrat), a monochrome or muted color palette (think charcoal, champagne, or forest green), and high-quality photography.
- Design Tip: Use a single, high-resolution portrait of the birthday person with a shallow depth of field. Overlay the text using a "Glassmorphism" effect—a semi-transparent, blurred background that allows the text to pop without obscuring the image.
- Best For: 30th to 60th birthdays, dinner parties, and black-tie events.
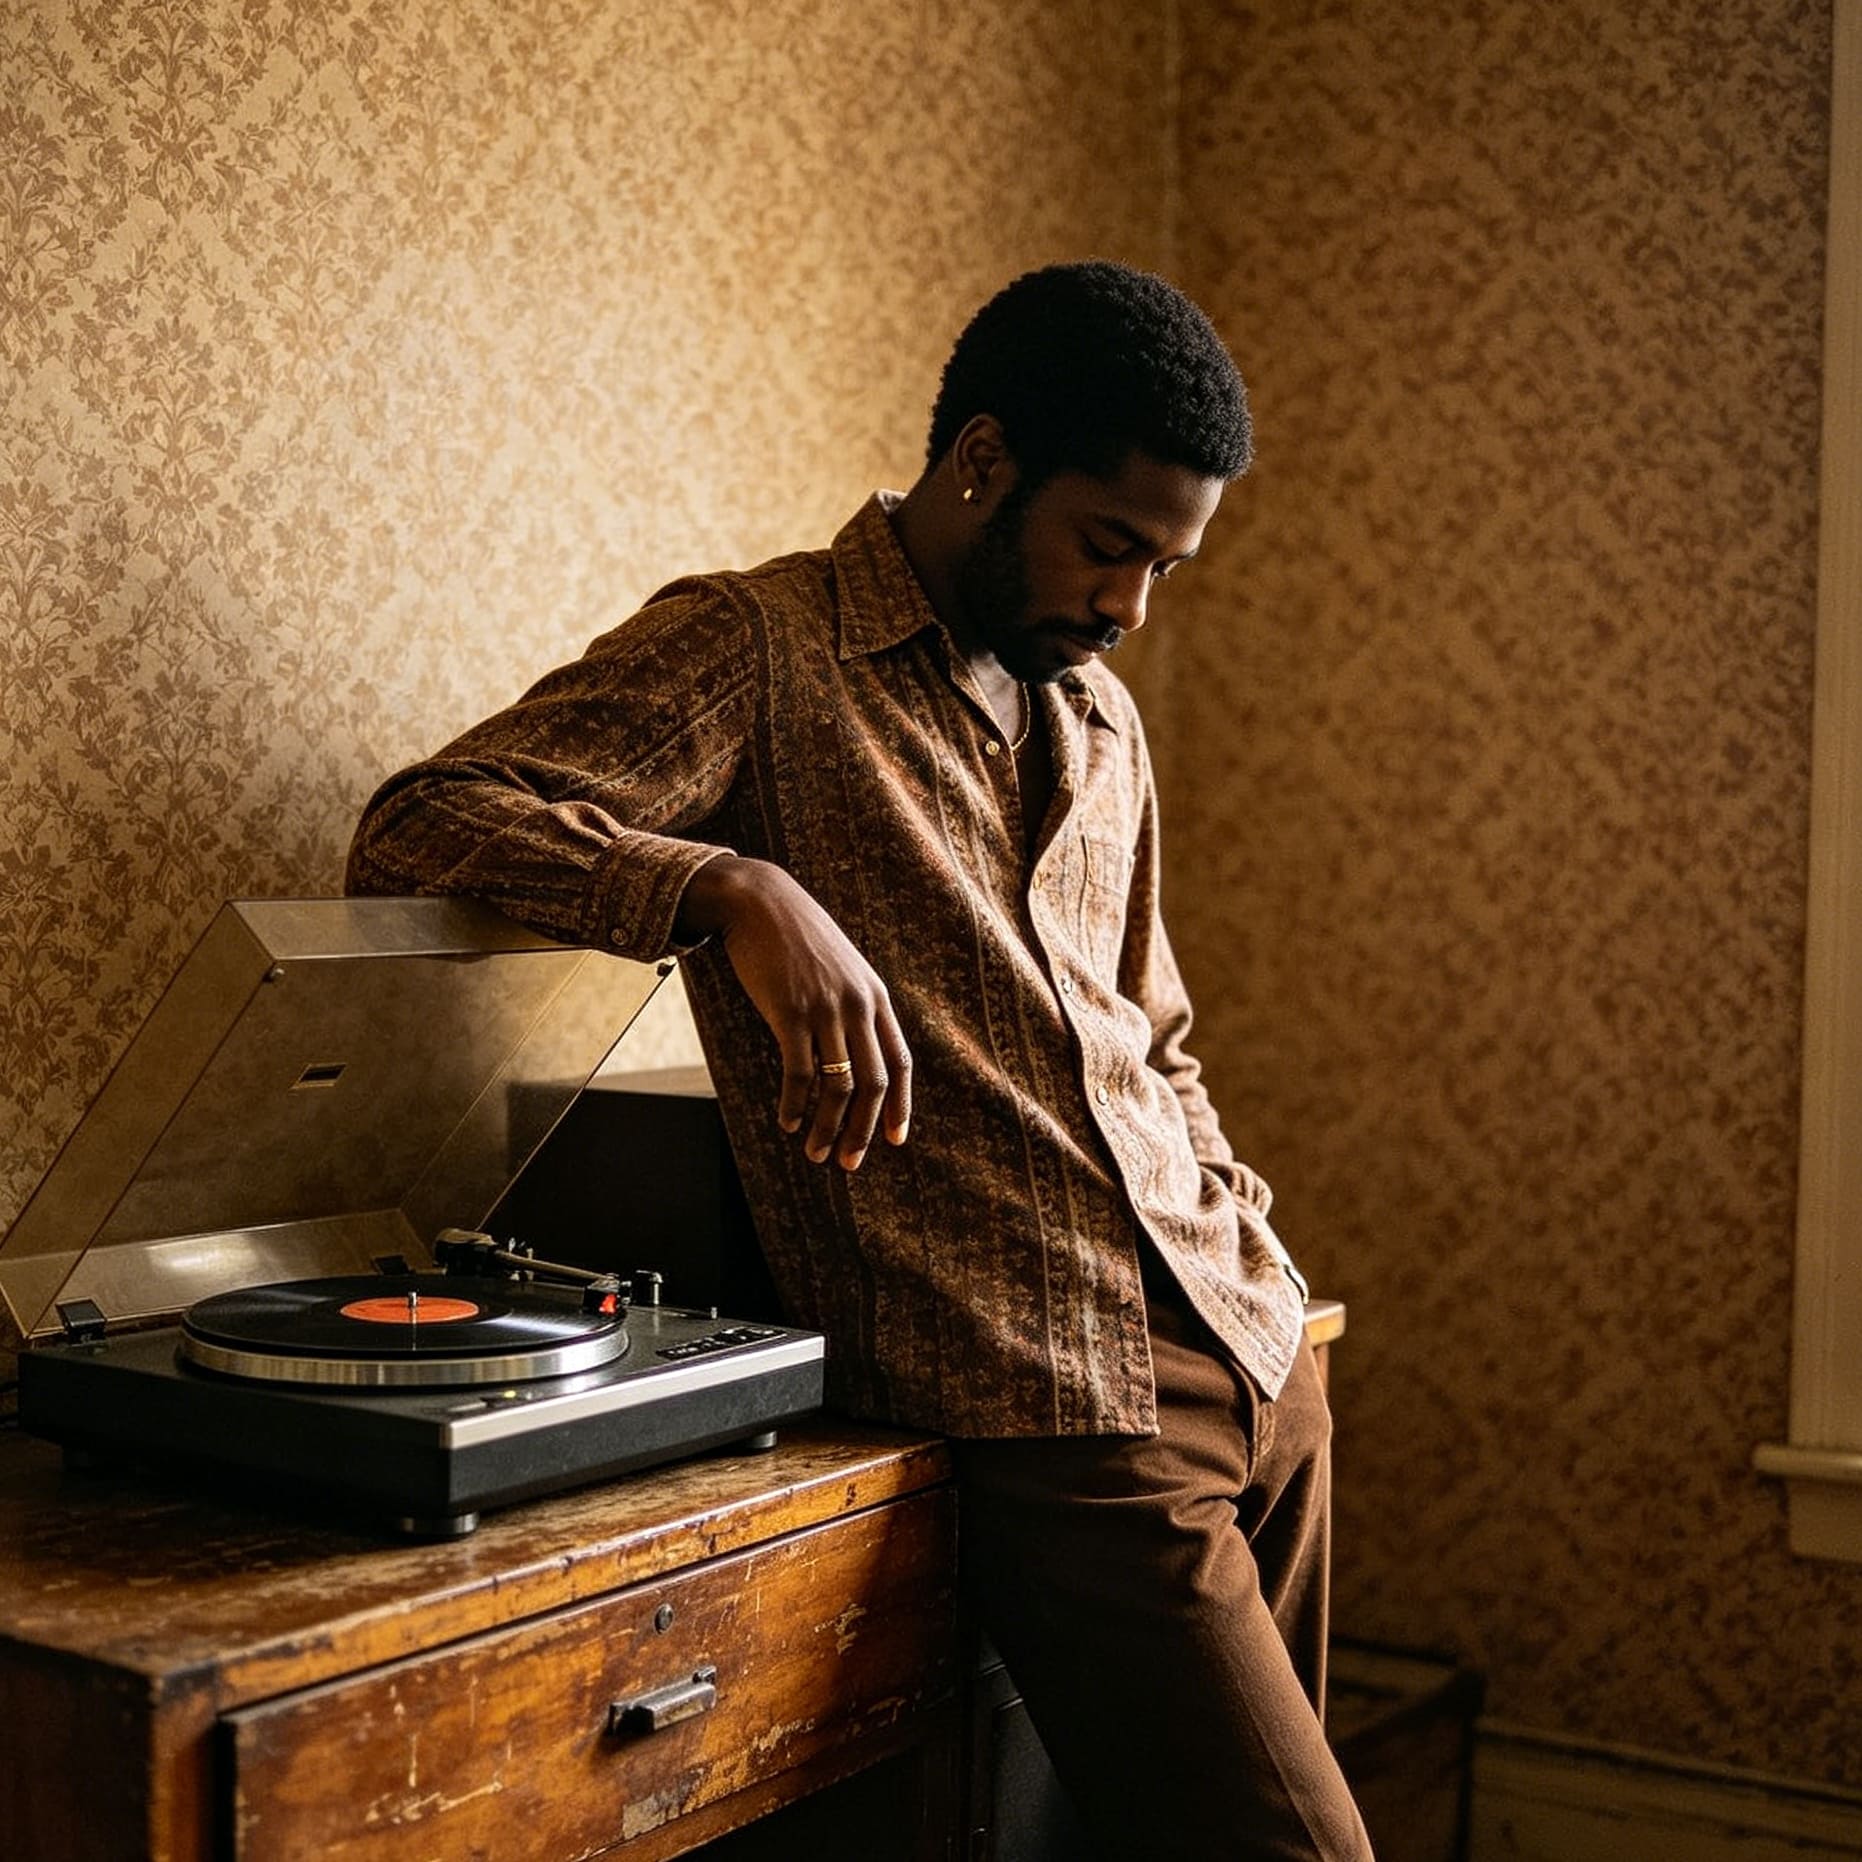
Nostalgic Retro and Vintage Aesthetics
Nostalgia is a powerful emotional trigger. Retro designs allow guests to feel a sense of shared history.
- Visual Characteristics: Distressed textures, halftone patterns, and "Groovy" or "Art Deco" typography. For a 70s vibe, utilize warm earth tones like burnt orange, mustard yellow, and avocado green. For an 80s synth-wave look, lean into neon pinks and electric blues.
- Design Tip: Incorporate "Paper Grain" textures and "Chromatic Aberration" effects to give the digital design a physical, aged feel. Using a "Newspaper Front Page" layout is a classic way to celebrate a milestone birthday by highlighting events from the year the person was born.
- Best For: 40th birthdays, costume parties, and themed "Decade" nights.
Playful Illustrative Styles for Children
For kids' posters, the goal is to evoke joy and excitement. This is where vibrant colors and hand-drawn elements shine.
- Visual Characteristics: Bold primary colors, rounded serif fonts, and whimsical illustrations of balloons, confetti, or characters.
- Design Tip: Ensure the "Visual Weight" is distributed evenly. Avoid cluttering the bottom of the poster. Use "Z-pattern" eye-tracking theory to guide the viewer from the child’s photo to the party details.
- Best For: 1st to 12th birthdays and themed parties (Space, Jungle, Princess).
The Cinematic Event Style
This style treats the birthday as a major motion picture or a headline concert. It is dramatic, high-contrast, and inherently "sharable" on social media.
- Visual Characteristics: High-contrast lighting, dramatic shadows (Chiaroscuro), and "Billing Blocks" (the small text at the bottom of movie posters listing the "cast" or "special guests").
- Design Tip: Use "Lens Flare" and "Light Leak" overlays to add a professional cinematic sheen. The typography should be condensed and bold, similar to the "Trajan" font often seen on film posters.
- Best For: Sweet 16s, 21st birthdays, and "VIP" club celebrations.
The Science of Visual Design Foundations
To move beyond templates, one must understand the underlying principles that make a design "work."
The Psychology of Color in Celebration
Colors evoke specific physiological and psychological responses. Choosing the right palette is vital for setting the mood.
- Gold and Black: Communicates luxury, exclusivity, and prestige. Ideal for evening galas.
- Pastel Blue and Pink: Evokes softness, innocence, and tranquility. Traditional for early childhood celebrations.
- Vibrant Yellow and Orange: Stimulates energy, happiness, and social interaction. Perfect for outdoor BBQs and pool parties.
- Deep Emerald and Navy: Suggests stability, wisdom, and elegance. Suitable for professional or academic-related birthday milestones.
Typography Pairing and Readability
A common mistake in amateur birthday poster design is using too many fonts. A professional rule of thumb is to limit the design to two, or at most three, typefaces.
- The Display Font: This is your personality font. It can be a script, a heavy slab serif, or a custom illustrative font. Use this only for the name or the main headline.
- The Body Font: This must be a highly legible Sans-Serif (like Open Sans or Lato) or a clean Serif (like Garamond). This is for the date, location, and RSVP details.
- Contrast is Key: If your display font is ornate and curvy, pair it with a rigid, geometric sans-serif to create visual tension and balance.
Mastering Negative Space (White Space)
Negative space is the area between and around the subjects of an image. In poster design, it is as important as the content itself. It prevents the design from feeling claustrophobic and allows the viewer's eyes to rest. A poster with "breathing room" looks more expensive and professional than one crammed with clip art.
The Technical Workflow: From Concept to Print
Designing for a screen is vastly different from designing for a physical poster. A professional must account for technical specifications early in the process.
Step 1: Document Setup and Bleed
If you intend to print the poster, you must set up your document with a "Bleed." A bleed is an extra 0.125 inches (3mm) of design that extends beyond the trim line. This ensures that if the printer's blade slips slightly, there are no white edges on your finished product.
- Standard Sizes: 18x24 inches (Medium), 24x36 inches (Large/Standard Movie Poster), or A3/A4 for smaller indoor displays.
Step 2: Resolution and Color Modes
- For Print: Work in CMYK color mode at 300 DPI (Dots Per Inch). CMYK (Cyan, Magenta, Yellow, Black) is the standard for physical ink. Using RGB for print will result in colors looking dull or shifted.
- For Digital/Social Media: Work in RGB color mode at 72 DPI or 150 DPI. 1080x1920 pixels is the standard for Instagram and TikTok stories.
Step 3: Layering and Non-Destructive Editing
In professional software, always use layers and masks. Never "erase" pixels; instead, use a layer mask to hide them. This allows you to go back and adjust the design without losing data. Organize your layers into groups: "Background," "Graphics," "Text," and "Adjustment Layers."
Step 4: The Proofing Process
Before finalizing, view your design at 100% zoom. Check for "Kerning" issues (uneven spacing between letters) and "Widows" or "Orphans" (single words left at the end of a paragraph). Print a small-scale test copy on a home printer to check if the text remains legible at a smaller size.
Advanced Design Techniques: Using AI and Modern Tools
The landscape of birthday poster design has been revolutionized by AI and intuitive design platforms. These tools should be seen as co-creators.
Prompt Engineering for Poster Backgrounds
When using AI image generators to create a base for your poster, specificity is vital. Instead of "birthday background," use a professional prompt:
"A flat-lay aesthetic background for a 30th birthday poster, sophisticated champagne gold silk texture, soft studio lighting, top-down view, minimalist composition with space for text in the center, 8k resolution, photorealistic."
AI-Driven Layout Optimization
Newer tools offer "Auto-Layout" features that suggest the best placement for text based on the focal point of your background image. This is particularly useful for ensuring that text doesn't overlap with the birthday person's face or crucial graphic elements.
Smart Removal and Upscaling
If you have an old family photo you want to use for a "Then and Now" poster, use AI upscalers to increase the resolution. This prevents the image from looking pixelated when printed on a large 24x36 inch canvas. Similarly, use "In-painting" or "Smart Remover" tools to clean up distracting elements in the background of your photos.
Practical Checklist for Designing Your First Poster
To ensure nothing is missed, follow this professional checklist:
- Verification: Is the spelling of the name 100% correct?
- Legibility: Can the date and time be read from 5 feet away?
- Contrast: Is there enough contrast between the text and the background (e.g., no light yellow text on a white background)?
- Alignment: Are the elements aligned to a grid (Left, Center, or Right)?
- Functionality: Does the QR code work when scanned from a phone screen?
- Format: Do you have both a PDF for printing and a JPG for social media?
Frequently Asked Questions (FAQ)
What is the best font for a birthday poster?
There is no single "best" font, but pairing a bold display font like Bebas Neue or Playfair Display with a clean secondary font like Open Sans or Montserrat is a foolproof strategy for a professional look.
How do I make a birthday poster for free?
Platforms like Canva or Adobe Express offer robust free tiers with thousands of templates. The key to making a free template look "professional" is to change the default fonts and colors to match your specific theme, rather than using the template exactly as it is.
What size should a birthday poster be?
For a party entrance, 18x24 inches is the standard. For a large backdrop or photo booth area, 24x36 inches is preferred. For digital-only invites, use 1080x1920 pixels (Vertical) for mobile viewing.
How can I include a photo without it looking cluttered?
Use the "Rule of Thirds." Place the photo in one-third of the poster and keep the text in the remaining two-thirds. Alternatively, use the photo as a full-bleed background and place the text in a clean, semi-transparent box.
Should I use RGB or CMYK for my design?
If you are sending the file to a professional print shop, use CMYK. If you are only sharing the poster on Facebook, WhatsApp, or Instagram, use RGB.
Summary and Key Takeaways
Professional birthday poster design is the intersection of personal celebration and disciplined graphic theory. By establishing a clear information hierarchy, choosing a cohesive theme, and adhering to technical standards like 300 DPI and CMYK, anyone can create a visual masterpiece. Remember that the best designs are often the simplest ones—where every element has a purpose and the honoree remains the undisputed star of the canvas. Focus on readability first, then layer on the creative flair to make the celebration truly unforgettable.
-
Topic: Birthday Poster Design: Create Personalized Posters with AIhttps://dreamina.capcut.com/resource/birthday-poster
-
Topic: Birthday poster ideas to inspire your next celebration | Picsart Bloghttps://picsart.com/blog/birthday-poster-ideas/
-
Topic: Birthday Poster Design: Make Your Birthday Poster In Minuteshttps://www.dochipo.com/how-to-make-a-birthday-poster/