Home
Home
Professional Zip Up Hoodie Mockups Transform Design Visuals for Apparel Brands
Zip-up hoodie mockups are indispensable digital assets that bridge the gap between a 2D graphic design and a finished physical garment. Unlike standard pullover hoodies, zip-up versions present a unique structural challenge: the center zipper line. This vertical divide requires specialized templates that allow designers to test how graphics, logos, and patterns interact with seams and split panels. High-quality mockups provide a photorealistic environment where fabric texture, lighting, and garment construction are pre-rendered, saving brands thousands of dollars in physical sampling costs.
Unique Challenges of Designing for Zip Up Hoodies
The primary difficulty in visualizing a zip-up hoodie lies in the split front. When a graphic is placed across the chest, it must be perfectly aligned so that when the garment is zipped, the image appears seamless. Professional mockups utilize sophisticated mapping techniques to ensure that any artwork placed onto the template respects this physical boundary.
A common mistake in low-quality templates is treating the front as a single flat plane. In reality, the zipper teeth and the surrounding fabric tape create a slight physical elevation and a visual break. High-end PSD templates account for this by providing separate smart object layers for the left and right panels. This allows designers to adjust for the "bleed" or "safe zone" near the zipper, ensuring that critical parts of the logo are not swallowed by the stitching or obscured by the metal teeth of the zipper itself.
Furthermore, the hood's weight and the way it interacts with the shoulders create distinct shadow patterns that are different from pullovers. The open front of a zip-up can also reveal the interior lining, which necessitates a mockup that includes an "interior view" layer. This is crucial for brands that want to showcase custom neck labels or contrasting inner fabric colors.
Technical Specifications of High Resolution Mockup Files
For a mockup to be truly effective for professional use—whether for a pitch deck or an e-commerce storefront—it must meet specific technical benchmarks.
Resolution and DPI Standards
Industry-standard mockups typically feature a resolution of at least 4000x4000 pixels. High resolution is not just about clarity; it is about the ability to crop in on specific details like the drawstring aglets or the texture of the ribbed cuffs without losing sharpness. Operating at 300 DPI (dots per inch) is the gold standard, as it ensures the visual output remains crisp even if printed for lookbooks or physical marketing materials.
Layered PSD Architecture
The hallmark of a professional zip-up hoodie mockup is its layer organization. A well-constructed file will have clearly labeled folders for:
- Hardware: Allowing for the customization of zipper colors (e.g., matte black, silver, or gold) and drawstring tips.
- Highlights and Shadows: These are often set to "Linear Burn" or "Screen" blending modes, allowing the user to adjust the intensity of the light to match a specific brand aesthetic.
- Fabric Texture: A high-pass filter layer that retains the weave of the cotton or polyester blend, ensuring that the design doesn't look like a flat sticker pasted over a photo.
- Smart Objects: The engine of the mockup, which allows for non-destructive editing of the artwork.
Displacement Maps for Realism
Advanced mockups often include a secondary "Displacement Map" file. This is a grayscale version of the hoodie that Photoshop uses to wrap the graphic around the folds and ripples of the fabric. Without a displacement map, a logo on a wrinkled hoodie looks artificially straight. With it, the logo curves and distorts realistically, following the natural contours of the person wearing it or the way it lies on a flat surface.
Essential Features to Look for in Professional Templates
Selecting the right mockup requires an eye for detail. Not all "blank" templates are created equal, and the nuances of the garment's construction can make or break the final presentation.
Accurate Seam Rendering
The stitching around the kangaroo pockets and the shoulder seams must be visible. If the mockup is too "clean," it loses the tactile quality that customers look for in premium apparel. Look for templates that show the slight puckering of fabric near the seams, as this indicates a high-quality photo-based source rather than a low-effort 3D model.
Multiple Angles and Views
A single front view is rarely enough for a comprehensive design review. Professional sets include:
- Front View (Zipped): For checking graphic alignment across the zipper.
- Front View (Unzipped/Open): To show the inner lining and how the design looks when the jacket is worn casually.
- Back View: Essential for large branding or "streetwear" style typography.
- Side View: To check the placement of sleeve prints and the profile of the hood.
- Detail/Close-up: To highlight the quality of the fabric and the precision of the printing.
Customization of Component Parts
The ability to change colors for individual parts is a major time-saver. Premium zip-up mockups allow the user to change the color of the hood lining, the drawstrings, the waistband, and the zipper tape independently. This is particularly important for "cut and sew" designs where the brand is not simply using a wholesale blank but is creating a custom garment from scratch.
Step by Step Guide to Using a Zip Up Hoodie Mockup in Photoshop
Integrating your design into a professional PSD template is a systematic process. Following these steps ensures the highest level of realism.
Preparing the Artwork
Before opening the mockup, ensure your artwork is in a high-resolution format, preferably a vector file or a transparent PNG. If the graphic is meant to cross the zipper, keep it as one piece for now; the mockup's smart objects will handle the splitting if it is designed correctly.
Utilizing Smart Objects
Locate the layer usually titled "Place Your Design Here" or "Front Design." Double-clicking the thumbnail of this Smart Object will open a new window (.psb file). Paste your design here.
In our testing, we have found that scaling the design to about 80% of the available canvas often yields the most realistic placement, as it leaves natural "breathing room" near the shoulders and hem. Save the .psb file (Cmd+S or Ctrl+S), and the main mockup file will automatically update with your design applied.
Applying the Displacement Map
If the mockup looks slightly "flat" after placing the design, it’s time to apply the displacement map.
- Go to Filter > Distort > Displace.
- Set the Horizontal and Vertical scales (typically between 5 and 15 depending on the fabric's weight).
- Select "Stretch to Fit" and "Repeat Edge Pixels."
- When the file browser opens, select the specific displacement map file provided with your mockup. This step forces the pixels of your design to shift according to the shadows and highlights of the hoodie, creating a 3D effect.
Fine Tuning Color and Lighting
Most professional mockups include a "Color Change" layer. Instead of using a simple paint bucket tool, these layers use "Color Overlay" or "Hue/Saturation" adjustment layers to preserve the highlights. If you are designing a dark navy hoodie, ensure you pull the "Shadows" opacity up slightly to maintain the depth of the fabric folds, as dark colors tend to absorb light and can look like a flat black blob if not handled correctly.
Comparing Online Generators and Professional PSD Mockups
Designers often choose between browser-based generators and dedicated Photoshop files. Both have their place in the workflow, but they serve different purposes.
Online Mockup Generators
Tools like Pacdora or Mockey offer speed and ease of use. You upload an image, and the browser renders it onto a 3D model.
- Pros: No software required, extremely fast, often includes 360-degree rotation.
- Cons: Limited resolution, less control over lighting, and a "generic" look that can be easily spotted by savvy customers. They often fail to capture the subtle imperfections of real fabric.
Professional PSD Files
Purchasing a high-end PSD file from a specialized marketplace offers the ultimate in control.
- Pros: Infinite customization, high-print resolution, realistic fabric physics, and the ability to export in various formats.
- Cons: Requires Adobe Photoshop, has a steeper learning curve, and files can be very large (up to 1GB+).
For professional brands looking to establish a premium identity, the PSD route is almost always preferred. The ability to tweak the "Specular Highlights" on a metal zipper or adjust the "Fabric Fuzz" layer provides a level of authenticity that online generators simply cannot match.
Strategies for Presenting Mockups to Clients and Customers
The way a mockup is presented can significantly influence the perceived value of the design.
Consistency in Branding
If you are presenting a collection of five different hoodies, use the same mockup template for all of them. This allows the client to focus on the design variations rather than being distracted by changes in lighting or camera angles. Consistency builds a sense of "collection" rather than just a series of random items.
Contextual Backgrounds
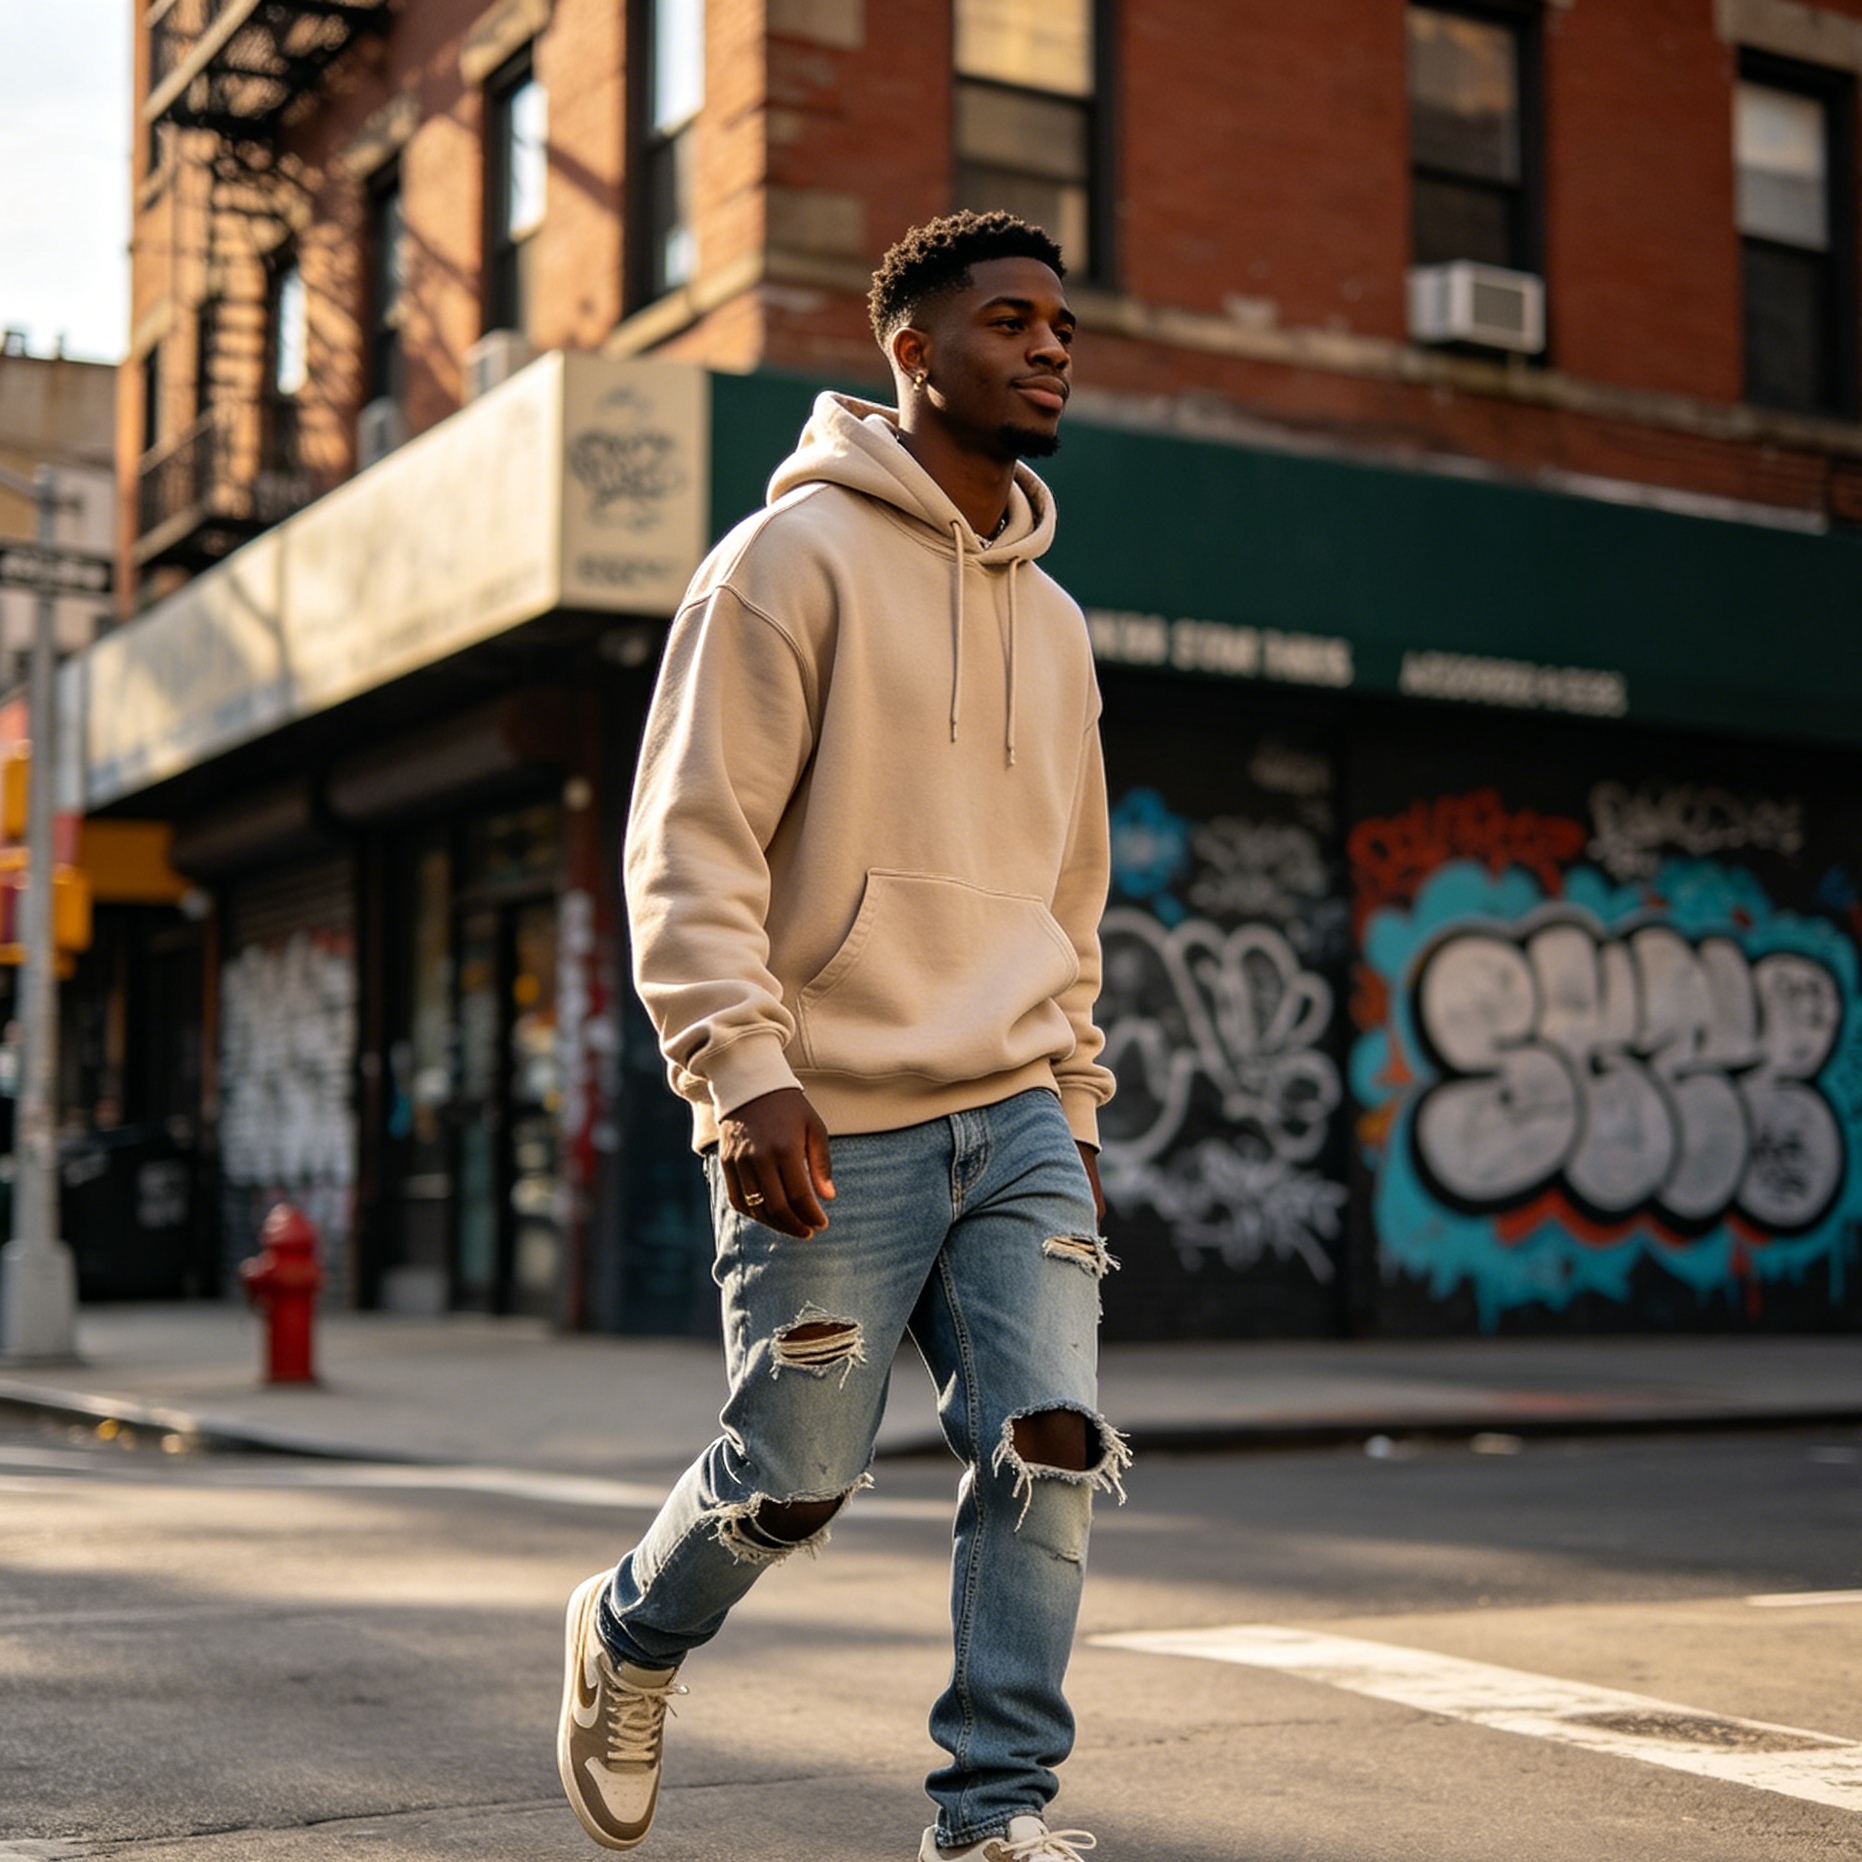
While a white or transparent background is standard for e-commerce, "lifestyle" backgrounds can help a customer visualize themselves in the product. Some professional mockups include "Scene Creators" where you can toggle backgrounds like a concrete wall, a wooden floor, or a blurred urban environment. This adds a layer of "Experience" to the visual, making the product feel like part of a real-world lifestyle.
Honesty in Sampling
It is important to remember that a mockup is a tool for visualization, not a 1:1 replacement for a physical sample. Always ensure that the "blank" used in the mockup closely matches the actual garment you intend to print on. If you are using a Gildan 18600 but your mockup looks like a high-end French Terry oversized hoodie, the final product will disappoint the customer. Matching the "fit" and "fabric weight" of the mockup to the reality of the production is a key ethical and professional standard.
Future Trends in Apparel Mockup Technology
The industry is moving toward even more immersive experiences. We are seeing the rise of 3D Clo3D or Marvelous Designer files being converted into Photoshop mockups. These allow for "dynamic folding," where the garment can be draped differently with a few clicks.
Additionally, AI-enhanced mockups are beginning to emerge. These tools can automatically adjust the lighting of a placed design to match the environment of a background photo using neural filters. However, the core principles of the zip-up hoodie mockup—accurate zipper splitting, high-resolution textures, and smart object integration—remain the foundation of professional apparel presentation.
Summary of Best Practices for Zip Up Hoodie Design
To achieve the best results with a zip-up hoodie mockup, designers should prioritize high-resolution files that offer specific control over the zipper and seam details. Utilizing displacement maps and adjusting blending modes for shadows and highlights are the "pro secrets" that transform a digital image into a realistic garment preview. By choosing the right tool for the right job—whether it’s a quick online render for a social media post or a heavy-duty PSD for an e-commerce catalog—designers can significantly enhance their brand's visual appeal and operational efficiency.
FAQ
How do I make my logo look like it's printed on the fabric?
To achieve a "printed" look, adjust the opacity of your design layer to around 95-98% and set the blending mode to "Multiply" or "Linear Burn." This allows a tiny amount of the underlying fabric texture to show through the ink, which is how screen printing appears in real life.
What is the best resolution for a hoodie mockup?
A resolution of 4000x4000 pixels at 300 DPI is ideal. This provides enough detail for both web use and high-quality print marketing.
Can I change the color of the zipper in a mockup?
In professional-grade PSD mockups, the zipper is usually a separate layer or group. You can use a "Color Overlay" or "Hue/Saturation" adjustment layer to change the color of the zipper tape and the metal puller independently.
Why does my design look stretched on the mockup?
This usually happens if the Smart Object's aspect ratio doesn't match the garment's surface area. Ensure you are not "stretching" the design to fit the smart object window; instead, use the "Transform" tool (Ctrl+T) to scale it proportionally. Applying a displacement map will also help fix the "flat" look by following the fabric's curves.
Is it better to use a flat lay or a ghost mannequin mockup?
Flat lays are excellent for social media and casual "lifestyle" vibes, as they look organic and approachable. Ghost mannequins are better for e-commerce because they show the "fit" and shape of the garment without the distraction of a human model or the messiness of folded fabric.
-
Topic: Hoodie Zip Mockup Stock Illustrations – 1,496 Hoodie Zip Mockup Stock Illustrations, Vectors & Clipart - Dreamstimehttps://www.dreamstime.com/illustration/hoodie-zip-mockup.html
-
Topic: Zip Hoodie Mock Up Stock Photos - Free & Royalty-Free Stock Photos from Dreamstimehttps://www.dreamstime.com/photos-images/zip-hoodie-mock-up.html
-
Topic: 2,1 ribu Ilustrasi, Foto Stok, dan Gambar Zip up hoodie template Tanpa Royalti | Shutterstockhttps://www.shutterstock.com/id/search/zip-up-hoodie-template