Home
Home
Setup AI Voice Changers for OBS Studio Using Virtual Audio Routing

Integrating an AI voice changer into OBS Studio allows streamers and content creators to adopt unique personas, enhance roleplay experiences, or maintain privacy during live broadcasts. Unlike traditional pitch-shifters, modern AI voice modulators use neural networks to transform the timbre and characteristics of a voice in real time. To make this work with OBS Studio, the system must use a virtual audio bridge that routes the processed signal from the AI software into OBS as a dedicated input source.
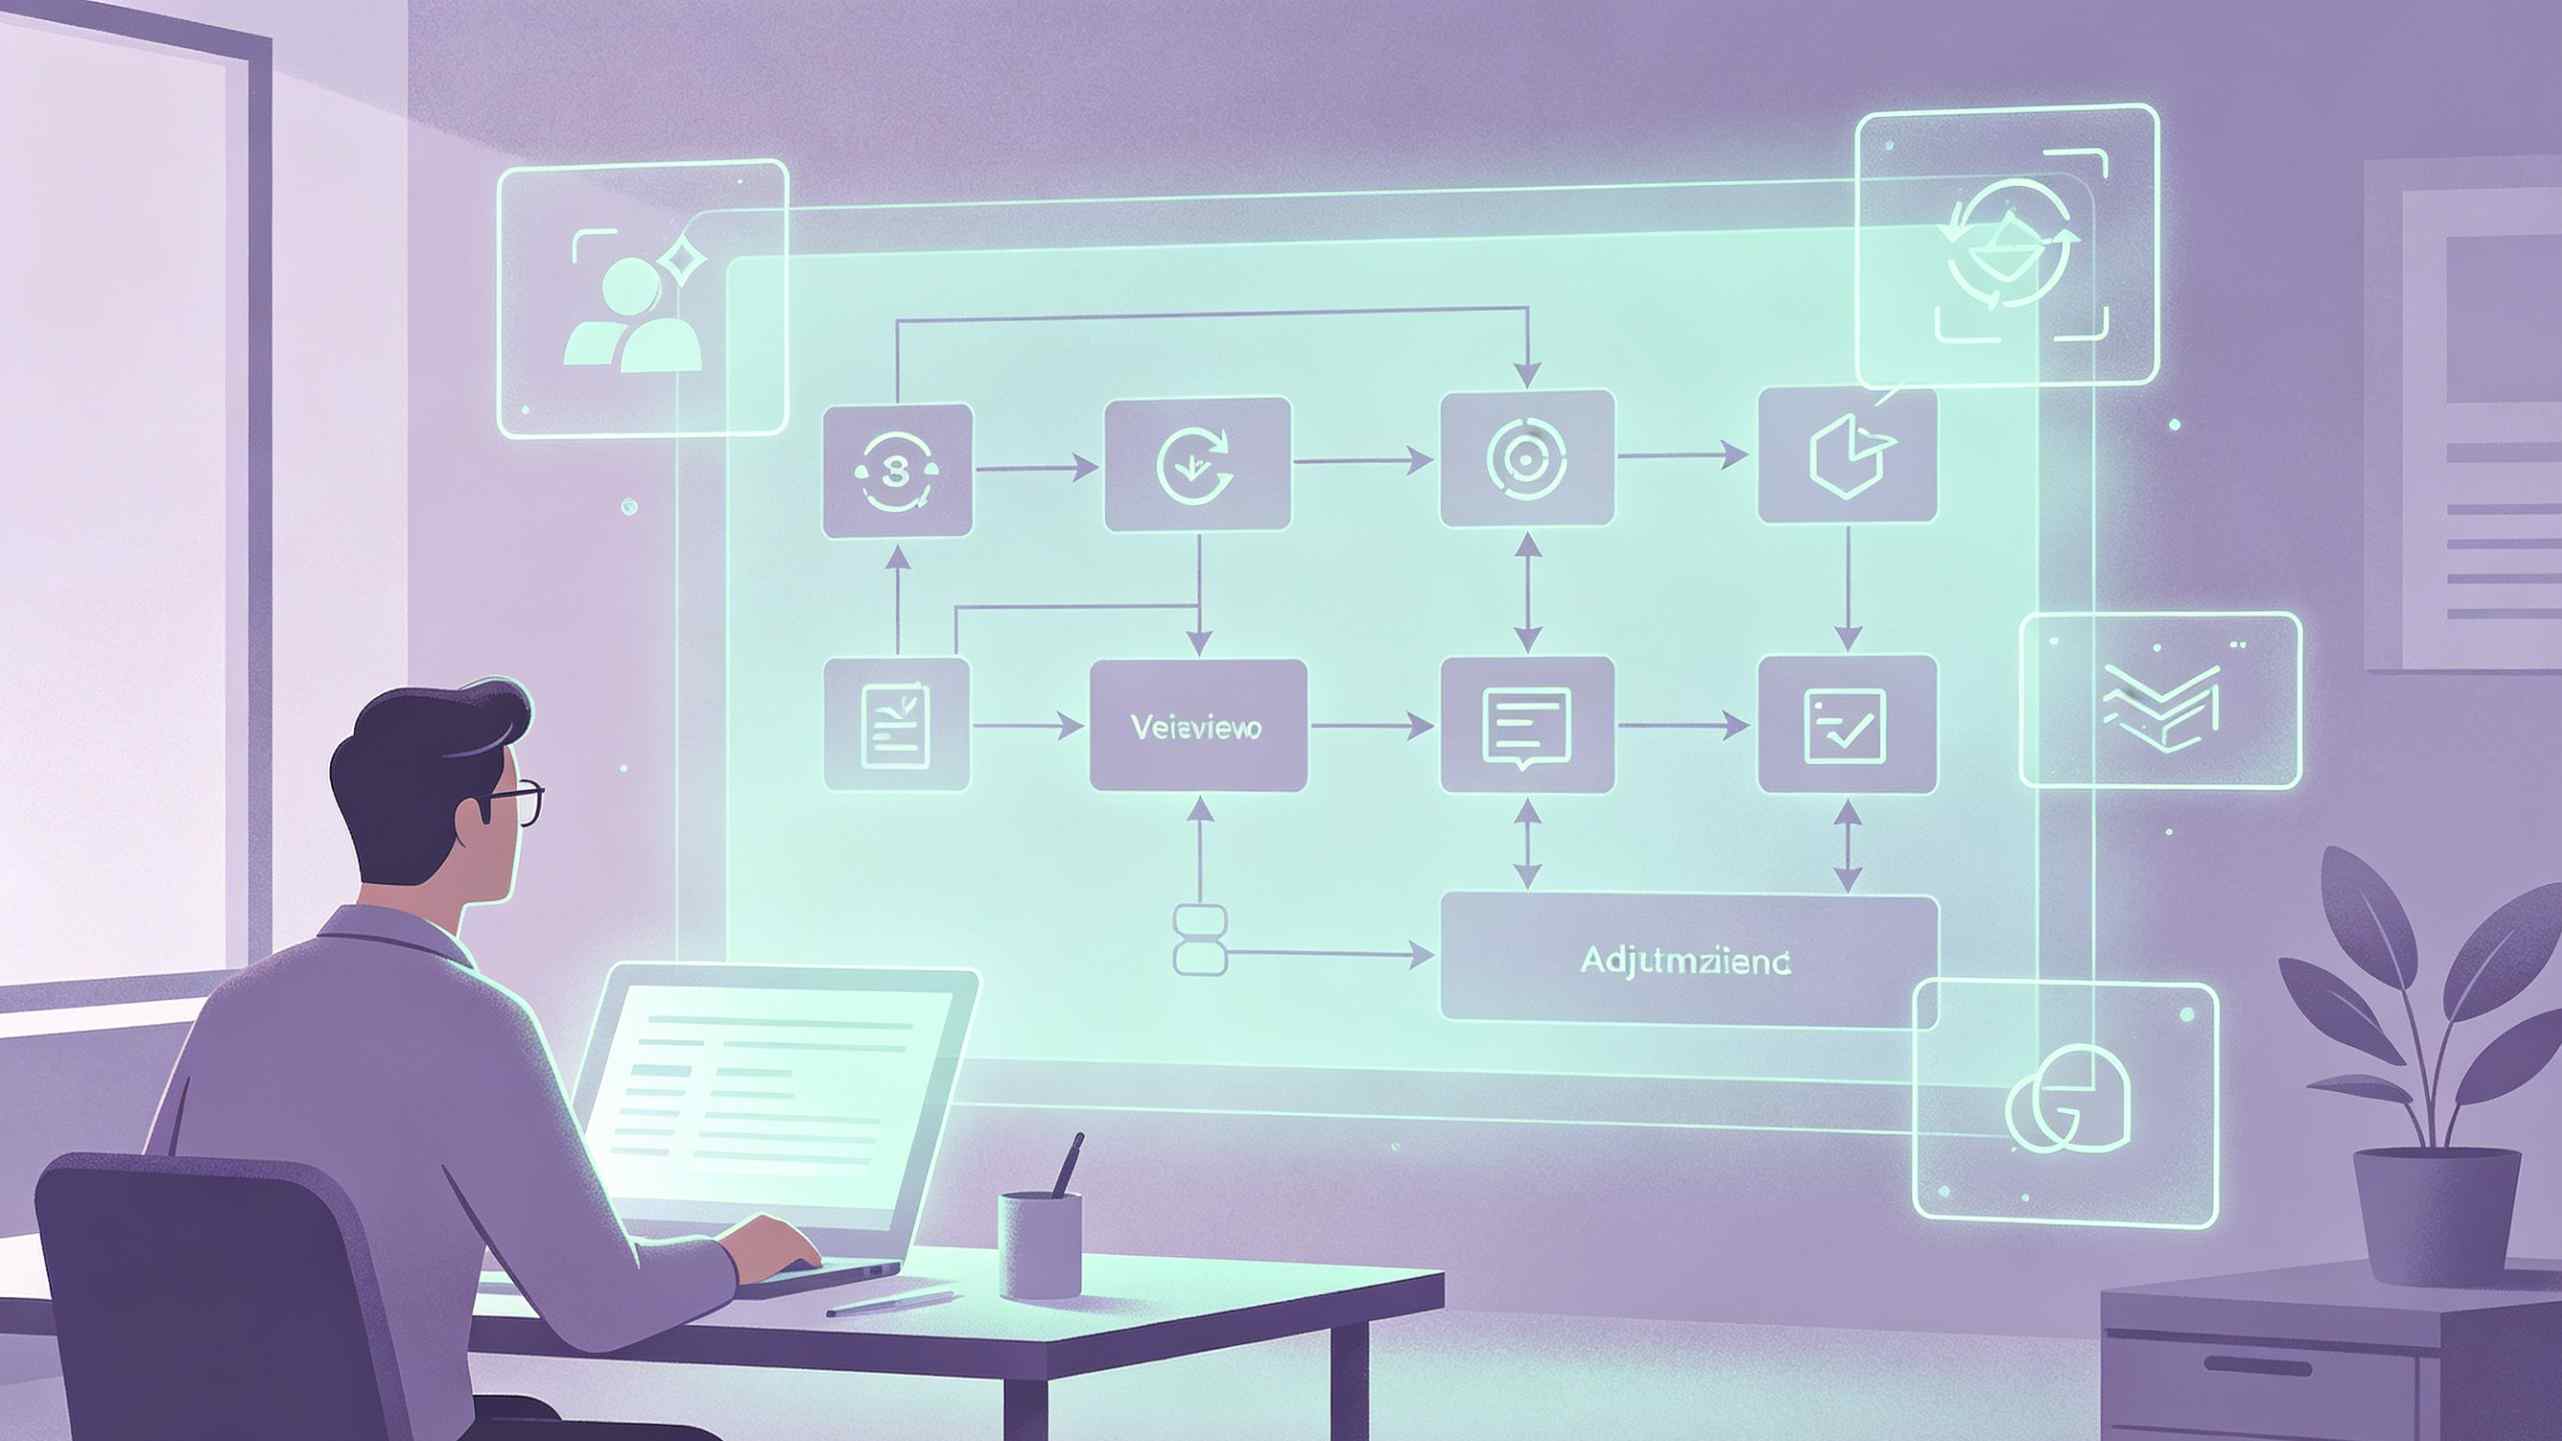
The Basic Workflow of AI Audio Routing in OBS
OBS Studio does not have a built-in AI voice processing engine. Instead, it relies on external applications to handle the heavy lifting of voice conversion. The standard workflow follows a specific chain:
- Physical Input: Your hardware microphone captures your raw voice.
- AI Transformation: The voice changer software intercepts this raw signal and applies neural network models to alter it.
- Virtual Output: The software outputs the modified audio to a "Virtual Audio Device" (also known as a Virtual Cable).
- OBS Capture: OBS is configured to listen to this Virtual Audio Device rather than your physical microphone.
This separation is crucial. If you select your physical microphone directly in OBS, your audience will hear your natural voice. By selecting the virtual driver, the audience only hears the transformed AI output.
Selecting the Right AI Voice Changer for Your Hardware
Before configuring OBS, you must choose a tool that fits your technical requirements. Based on testing across various streaming setups, here are the primary options categorized by their performance impact and feature sets.
Real-Time Neural Modulators
Tools like Voicemod and EaseUS VoiceWave are designed for low-latency performance. They typically offer a mix of traditional Digital Signal Processing (DSP) effects and true AI-driven voices. The advantage here is the built-in soundboard functionality, which allows you to trigger sound effects directly through the same virtual channel that handles your voice.
User-Generated Model Platforms
Voice.ai stands out for its massive library of community-uploaded voice models. This software uses a "Voice Universe" where users can train models on specific voices. However, this comes with a higher computational cost. During our testing, running Voice.ai alongside a resource-heavy game like Cyberpunk 2077 required significant GPU overhead (VRAM), which can lead to dropped frames in OBS if not managed correctly.
Local-First AI Engines
Tools such as VoxBooster or Dubbing AI emphasize local processing. This is a critical consideration for streamers concerned with privacy. Local processing ensures that your raw audio data never leaves your machine to be processed in the cloud. Furthermore, local engines often integrate better with NVIDIA Broadcast or RTX Voice filters, allowing for high-quality noise suppression before the AI transformation takes place.
Step-by-Step Configuration for OBS Studio
Once you have installed your chosen voice changer, follow these steps to link it with OBS. This process assumes the software has installed its own virtual audio driver (usually named after the software, e.g., "Voicemod Virtual Audio Device").
Phase 1: Configuring the Voice Changer Software
- Open the voice changer application and navigate to the Settings or Audio menu.
- Set the Input Device to your actual physical microphone (e.g., "Focusrite Scarlett" or "USB Condenser Mic").
- Set the Output Device to the software's virtual driver. Note: Some applications do this automatically and will simply display "Virtual Output Active."
- Enable the "Hear Myself" toggle temporarily to confirm the AI effect is working, then turn it off once you move to OBS to avoid double-monitoring.
Phase 2: Configuring OBS Studio Audio Settings
- Launch OBS Studio and click Settings in the bottom right corner.
- Navigate to the Audio tab.
- Locate the Global Audio Devices section.
- Under Mic/Auxiliary Audio, do not select your physical microphone. Instead, select the Virtual Audio Device associated with your AI software (e.g., "Microphone (Voicemod Virtual Audio)").
- Set all other Mic/Auxiliary channels to Disabled to prevent accidental "leaks" of your raw voice.
- Click Apply and OK.
Phase 3: Verifying the Signal in the Audio Mixer
In the OBS main interface, look at the Audio Mixer dock. Speak into your mic. You should see the green/yellow bars moving for the "Mic/Aux" source. If the bars move but you hear nothing, check your monitoring settings.
How to Fix Audio Delay in OBS with AI Voice Changer
One of the most common issues with AI voice transformation is latency. Traditional effects have sub-10ms delay, but AI cloning models often introduce 200ms to 500ms of latency due to the "look-ahead" required by the neural network to produce natural speech patterns.
This results in your voice being out of sync with your face camera. To fix this, you must apply a Sync Offset in OBS:
- Right-click anywhere in the Audio Mixer and select Advanced Audio Properties.
- Find your AI voice source (Mic/Aux).
- Locate the Sync Offset (ms) column.
- Enter a positive value (e.g., 300ms). You will need to test this by recording a short clip of yourself clapping or speaking. If your voice comes after your lips move, increase the offset for your camera source instead, or decrease it for the audio.
- If the AI delay is 300ms, and you want your video to match, you can also add a Video Delay (Async) Filter to your camera source in OBS.
Monitoring Your AI Voice Without Feedback Loops
Streamers need to hear their transformed voice to ensure the "performance" is hitting the right notes. However, improper monitoring leads to the "Echo Loop" where OBS captures the output of your headphones, sends it back through the voice changer, and creates an escalating screech.
The Correct Monitoring Path
- In OBS Advanced Audio Properties, set your Mic/Aux source to Monitor and Output.
- Go to OBS Settings > Audio > Advanced.
- Set the Monitoring Device to your physical headphones. Do not set this to "Default" if your default Windows output is the same as your desktop audio, or your stream will hear a doubled version of your voice.
- Crucial: Use closed-back headphones. AI voice models can be sensitive to "bleed" from open-back headphones, which might cause the AI to try and transform the background game sounds, resulting in "robotic" artifacts in your speech.
Performance Optimization for High-End AI Models
AI voice changing is computationally expensive. It primarily taxes the GPU or the CPU’s NPU (Neural Processing Unit). If you experience "crackling" audio or stream lag, consider these optimizations:
Sample Rate Alignment
Ensure your physical microphone, the AI software, and OBS are all set to the same sample rate (either 44.1kHz or 48kHz). Discrepancies cause the CPU to perform real-time resampling, which adds latency and consumes cycles. In Windows, check this under Sound Control Panel > Recording/Playback > Properties > Advanced.
VRAM and GPU Priority
If you are using an AI voice changer that relies on NVIDIA's CUDA cores, it is competing with your game and OBS's NVENC encoder.
- Limit Frame Rates: Capping your game at 60 FPS or 120 FPS frees up GPU resources for the AI model.
- Run as Administrator: Running OBS as an administrator ensures it gets priority access to the GPU's hardware scheduler, preventing the voice changer from "starving" the stream of frames.
Buffer Size Adjustments
In your voice changer's settings, you may see a "Buffer Size" or "Latency Mode." A smaller buffer (e.g., 128 or 256 samples) reduces delay but increases the risk of audio pops. For AI voices, a buffer of 512 samples is usually the sweet spot for stability on modern Ryzen 7 or Intel i7 systems.
Advanced Routing: Using Multiple Audio Tracks
For professional content creators who edit their streams for YouTube, it is vital to record the AI voice and the game audio on separate tracks.
- In OBS Settings > Output, set the Output Mode to Advanced.
- Under the Recording tab, check multiple Audio Tracks (e.g., 1, 2, and 3).
- In Advanced Audio Properties, assign your AI Mic to Track 2 and your Desktop Audio to Track 3.
- Track 1 should remain as a "Master Mix" for the live stream.
- When you import the video into a video editor (like Premiere Pro or DaVinci Resolve), you will have separate sliders for your voice and the game, allowing you to fix volume issues in post-production.
Troubleshooting Common AI Voice Issues in OBS
Why does my voice sound robotic or glitchy?
This is typically a sign of "CPU Bottlenecking." When the AI model cannot process audio chunks fast enough, it drops samples. To fix this, try:
- Switching to a "Fast" or "Low-Res" AI model within the voice changer app.
- Closing unnecessary background apps (Chrome, Discord overlays).
- Checking if the AI software is using your dedicated GPU rather than integrated graphics.
Why can't I hear my soundboard in OBS?
If you are using a soundboard built into the voice changer, the audio usually travels through the same virtual driver as your voice. If the soundboard isn't coming through, check if the app has a "Voice Changer Toggle" that accidentally mutes the soundboard when the voice effect is off.
My raw voice is leaking into the stream
This happens if you have the physical microphone enabled in the OBS Audio Mixer alongside the Virtual Device. Ensure that the only active input in OBS is the Virtual Microphone. In the Windows Sound settings, you should also ensure that "Listen to this device" is unchecked for your physical microphone.
Summary
Setting up an AI voice changer for OBS Studio transforms the streaming experience by adding a layer of creative performance. The key to a successful setup lies in the virtual routing: connecting your physical hardware to the AI engine and then bridging that engine to OBS via a virtual driver. While latency is an inherent challenge of neural networks, OBS's sync offset tools provide a robust solution to keep your audio and video in perfect alignment. By managing GPU resources and aligning sample rates, you can achieve a professional, high-fidelity voice transformation that captivates your audience.
Frequently Asked Questions
Can I use Voicemod and Discord at the same time as OBS?
Yes. Once the virtual driver is active, you can set "Voicemod Virtual Audio Device" as your input in Discord settings and OBS settings simultaneously. Both applications will receive the transformed audio.
Does AI voice changing require a dedicated GPU?
While not strictly required, a dedicated GPU (especially NVIDIA RTX series) significantly improves quality and reduces latency. CPU-only processing can often lead to higher latency and potential audio artifacts during intense gaming.
Is there a free AI voice changer for OBS?
Several tools offer free tiers, such as the basic version of Voicemod or Voice.ai. However, high-quality "cloned" voices often require a subscription or one-time purchase to unlock full neural processing power and remove watermarks.
How do I stop the AI voice changer from picking up my keyboard clicks?
The best way is to place a Noise Suppression filter (like RNNoise) in your chain before the audio reaches the AI voice changer. Some AI apps have built-in "Studio Denoise" features which are highly effective at isolating the human voice from mechanical keyboard sounds.
Will an AI voice changer get me banned from games?
Generally, no. Voice modulators are seen as accessibility or entertainment tools. However, using them to impersonate specific individuals for malicious purposes or to harass other players can violate the Terms of Service of both the game and the streaming platform.
-
Topic: Real-Time OBS Voice Changer - Upgrade Your Stream with AIhttps://voicechanger.easeus.com/voice-lab/obs-voice-changer
-
Topic: AI Voice Changer for OBS: Setup Guide 2026 — VoxBoosterhttps://www.voxbooster.com/blog/ai-voice-changer-for-obs/
-
Topic: VoxBooster — AI voice changer & real-time voice cloninghttps://voxbooster.com/#faq