Home
Home
The Best Before and After Photo Editors for Professional Visual Transformations
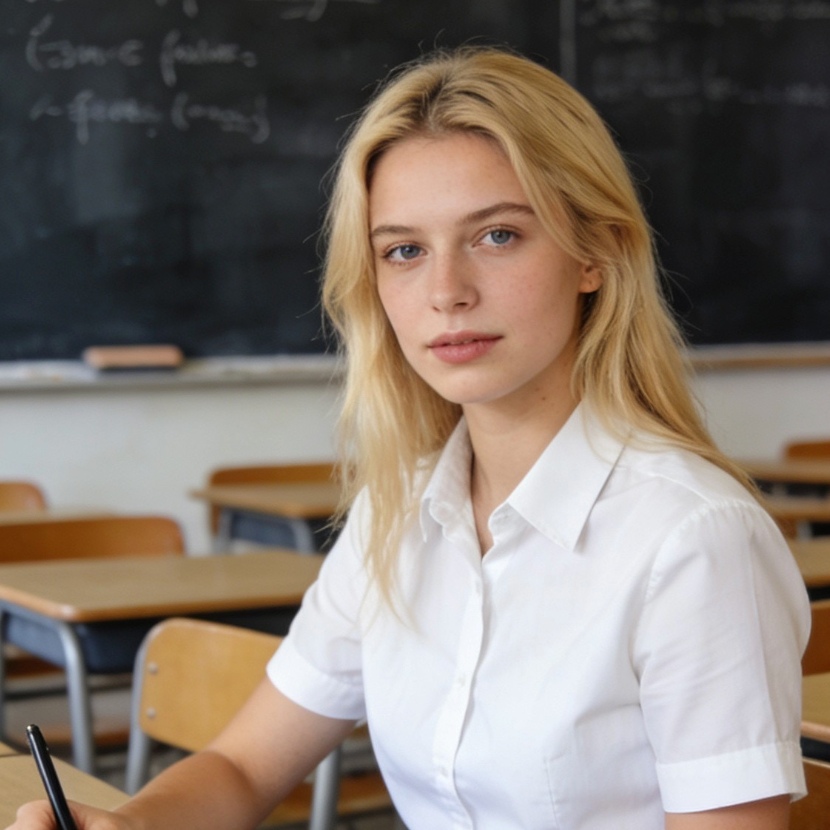
A before and after photo editor is a specialized software or application designed to showcase the transformation between an original image and its edited or improved version. In an era where visual proof dictates consumer trust, these tools serve as the ultimate bridge between a service provider's promise and the actual result. Whether it is a fitness journey, a home renovation, a complex photo retouch, or a dermatological treatment, the ability to present a side-by-side or interactive comparison is non-negotiable for modern branding.
The human brain processes visual information significantly faster than text. When a viewer sees a "Before" state—cluttered, unedited, or imperfect—and then interacts with an "After" state that is clean, professional, or optimized, the cognitive impact creates an immediate sense of accomplishment and credibility. This article explores the sophisticated ecosystem of before and after photo editors, analyzing the best tools available and the technical nuances of creating compelling visual narratives.
Understanding the Different Formats of Image Comparison
Before selecting a tool, it is essential to understand that not all "before and after" presentations are created equal. Depending on the platform—be it a website, Instagram Stories, or a professional portfolio—the format of the comparison will dictate the viewer's engagement level.
The Static Side-by-Side Collage
The most traditional and widely compatible format. This involves placing two images adjacent to each other (horizontally) or one above the other (vertically). Its primary advantage is compatibility; a static collage works on every platform, from email newsletters to basic social media posts.
The Interactive Image Slider
Commonly seen on professional photography and web design portfolios, the slider allows the user to drag a vertical or horizontal handle across the image. As the handle moves, it reveals the "After" version over the "Before" version. This format is highly engaging and provides a sense of transparency, as the viewer can inspect specific areas of the transformation at their own pace.
The Video Transition
For platforms like TikTok and Instagram Reels, static images often fall flat. A before and after video editor creates a smooth transition—often a wipe, fade, or morph effect—that turns two photos into a dynamic clip. This is particularly effective for showcasing the "process" behind the result.
The Split-View Overlay
Used frequently in software tutorials, the split-view divides a single frame, showing half of the original and half of the edited version. It is a powerful way to show color grading or sharpening results without requiring the user to look at two separate frames.
Why Visual Comparisons Are Crucial for Modern Marketing
The psychology of the transformation is rooted in social proof. In a digital world saturated with AI-generated content and heavy filters, transparency has become a premium currency.
- Establishing Credibility: A before and after comparison proves that a result was achieved from a specific starting point. It removes the "magic" and replaces it with "process."
- Highlighting Value: For service-based industries (like interior design or photo retouching), clients often don't realize the amount of work involved. Seeing the "Before" state helps them appreciate the labor and skill required to reach the "After."
- Encouraging Interaction: Interactive sliders increase the "Time on Page" metric for websites, which is a positive signal for search engine rankings and user retention.
Top Before and After Photo Editors: A Comprehensive Review
The market is flooded with tools, but the choice depends on the specific workflow—whether one needs a quick mobile edit or a high-resolution professional output.
1. Adobe Express: The Best for Quick, Professional Templates
Adobe Express has evolved into a powerhouse for quick content creation. It provides specific "Before and After" templates that are professionally designed with balanced typography and layout.
- Key Feature: The ability to instantly resize a comparison for multiple platforms (e.g., from an Instagram Square to a Pinterest Pin) without losing the alignment of the two photos.
- Experience Note: In professional workflows, the "Enhance" feature within Adobe Express allows for quick lighting adjustments to the "After" photo to ensure it pops against the "Before" without looking artificial.
2. Canva: The Design-First Approach
Canva is the go-to for marketers who want to add branding elements to their comparisons. With its vast library of frames and grids, creating a side-by-side comparison takes seconds.
- Key Feature: The "Frame" tool allows users to drop photos into pre-set containers, ensuring that the aspect ratio of the "Before" and "After" shots remains identical.
- Best For: Creating branded social media posts where logos, text overlays, and decorative elements are required.
3. Dittoed and Apollo: Consistency at the Source
One of the biggest challenges in before and after photography is ensuring the "After" photo is taken from the exact same angle and distance as the "Before" photo. Apps like Dittoed (Android) and Apollo (iOS) solve this at the point of capture.
- Key Feature: These apps provide a semi-transparent "Ghost" overlay of your first photo on the camera screen while you are taking the second photo. This ensures perfect alignment of the horizon, subject size, and perspective.
- Experience Note: For fitness professionals or home renovators, using a ghost overlay is the difference between a professional-looking transformation and a confusing one where the subject appears to have changed size due to lens distance.
4. Adobe Photoshop and Lightroom: The Professional Standard
For high-end retouching, real estate, and commercial photography, specialized comparison tools are often built directly into the editing suite.
- Lightroom’s "Before/After" View: By pressing the 'Y' key in the Develop module, photographers can see a side-by-side comparison of their RAW file versus their current edit.
- Photoshop Layer Masks: Professionals use Layer Masks to create custom reveal videos or complex sliders, allowing for pixel-perfect control over which parts of the image are compared.
5. Kapwing: The Mixed-Media Comparison Specialist
When a transformation is better shown through motion, Kapwing offers a robust browser-based video editor. It allows users to sync "Before" and "After" video clips side-by-side or create a "transition reveal" that is ready for social media export.
- Key Feature: Support for GIFs and short video clips alongside static images.
Technical Guide: How to Shoot for the Perfect Before and After
The quality of the editor matters, but the quality of the source material is paramount. If the lighting, angle, or clothing changes too drastically between shots, the "After" result may be viewed with skepticism.
Maintaining Fixed Variables
To ensure the comparison is valid, as many variables as possible must remain constant:
- Focal Length: Use the same lens or zoom setting. A wide-angle lens for the "Before" and a telephoto lens for the "After" will distort the subject's proportions, making the comparison useless.
- Lighting Direction: If the "Before" shot has harsh side-lighting and the "After" shot has soft front-lighting, the viewer will attribute the improvement to the light, not the service or product.
- Perspective and Height: Use a tripod whenever possible. Even a slight change in camera height can change how a room's dimensions or a person's physique is perceived.
The Alignment Process
When using an editor, the first step is always alignment.
- Crop to Match: If the subject in the "After" photo is slightly smaller, crop the "Before" photo to match the head-to-toe ratio.
- Horizon Leveling: Ensure the horizon line or vertical walls are perfectly straight in both images.
- Color Temperature Calibration: Even if the goal is to show a color improvement, the "White Balance" should be consistent so that the viewer isn't distracted by a yellow or blue tint in one of the frames.
How to Create an Interactive Before and After Slider for a Website
For those looking to move beyond static images, implementing a slider on a website is the gold standard. This usually involves three components:
- The Before Image: The base layer.
- The After Image: The overlay layer.
- The JavaScript/CSS Script: The engine that handles the mouse or touch input to move the divider.
Many WordPress plugins and Shopify apps offer "no-code" solutions for this. When choosing a slider tool, ensure it is "Lazy Loaded"—meaning the images only load when the user scrolls to them—to maintain high website performance.
Industry-Specific Applications of Before and After Editors
Real Estate and Interior Design
In real estate, "Virtual Staging" is a primary use case. An editor can show a cold, empty room transitioning into a warm, furnished living space. Here, a slider is essential because it allows the buyer to see the exact dimensions of the empty space while visualizing the potential.
Medical and Aesthetics
Dermatologists and plastic surgeons use high-resolution side-by-side comparisons. In this field, the "Experience" factor of the editor is vital—tools like Meridiq are designed specifically for clinical environments, ensuring that patient data is secure while providing calibrated comparison views.
UI/UX and Graphic Design
Designers use before and after editors to showcase website redesigns or logo refreshes. Often, these comparisons include annotations (text callouts) that explain why a certain change was made, such as "Improved contrast for accessibility" or "Simplified navigation for mobile users."
Common Pitfalls to Avoid in Visual Comparisons
- Over-Editing the "After": It is tempting to use heavy filters or AI-skin smoothing in the "After" photo. However, if the result looks "uncanny" or too perfect, it triggers the viewer's skepticism. Authenticity always outperforms perfection in the long run.
- Missing Labels: Never assume the viewer knows which one is the "After." Always use clear, high-contrast labels. Some editors allow for these to be baked into the image, while others provide them as dynamic overlays.
- Inconsistent Aspect Ratios: If the "Before" is a 4:3 photo and the "After" is a 16:9 photo, the comparison will look amateurish and disorganized. Always conform both images to the same canvas size before exporting.
Summary of the Best Tools by Category
| Category | Recommended Tool | Best For |
|---|---|---|
| Quick Social Media | Adobe Express / Canva | Templates, branding, and ease of use. |
| Camera Alignment | Dittoed / Apollo | Ensuring the "After" shot matches the "Before." |
| Web Interaction | Site Cam / WP Sliders | Interactive sliders for portfolios. |
| Professional Edit | Adobe Photoshop | Pixel-level control and high-res output. |
| Video/GIFs | Kapwing | Dynamic transitions for TikTok and Reels. |
Conclusion
A before and after photo editor is more than just a collage maker; it is a storytelling tool that validates hard work and professional results. By choosing the right format—whether a static side-by-side for Instagram or an interactive slider for a landing page—content creators can significantly boost their engagement and trust levels. The key to a successful comparison lies not just in the software, but in the discipline of maintaining consistency in lighting, angle, and perspective during the photography phase. When these technical elements align, the visual transformation speaks for itself, requiring very little text to convince a prospective client of the value provided.
Frequently Asked Questions (FAQ)
What is the best free before and after photo editor?
For mobile users, apps like Oddy or Layout from Instagram offer basic side-by-side features for free. For web users, Adobe Express and Canva have robust free tiers that provide professional-grade templates for comparisons.
How do I make a before and after video?
You can use a tool like Kapwing or InShot. Simply upload both your "Before" and "After" photos, place them on the timeline, and apply a "Wipe" or "Slide" transition between them. Many mobile apps also offer a "Slider Video" export where an automated handle moves across the screen.
Can I create a before and after slider for Instagram?
Instagram does not natively support interactive sliders where the user drags a handle. To achieve a similar effect on Instagram, you should either use a Carousel post (where the user swipes to the next full image) or export a Video transition from an editor that simulates a slider moving across the screen.
Why do my before and after photos look different even though I haven't changed the subject?
This is usually due to a change in focal length or white balance. If your phone camera switches from the "Main" lens to the "Wide" lens between shots, the perspective will shift. Always try to lock your camera settings (AE/AF Lock) to ensure consistency.
Is there an AI before and after photo editor?
Yes, tools like Adobe Express AI allow you to generate comparison templates based on text prompts. Furthermore, many AI-driven photo enhancers (like Remini or Topaz Photo AI) have built-in "View Original" buttons that allow you to see the AI's impact in real-time before saving the result.
-
Topic: Before and After Photo Compare - Apps on Google Playhttps://play.google.com/store/apps/details?id=com.sarafan.sidebyside
-
Topic: 6 Best Before After Photo Editor Online Free Tool - Code Canelhttps://codecanel.com/before-after-photo-editor-online-free-tool/
-
Topic: Top 7 Before and After Picture Makers for Comparison Imageshttps://www.vidnoz.com/ai-solutions/before-and-after-picture-maker.html